
Smart Contracts on Ethereum - 01: Setup 🛠️
Before writing any code, we'll prepare the essentials: installing the core tools, setting up a wallet, and getting some test coins. By the end, we'll have a complete development environment ready to deploy and interact with our very first smart contract.

Smart Contracts on Ethereum
Develop, Test, Deploy and Interact
Welcome!
Before you write your first smart contract, you will need to set up your development environment and the tools we will use throughout this series. Our goal is to get to a point where you can deploy and interact with contracts on a fast, low-cost test network.
Table of Contents
- Installing Node.js
- Installing Visual Studio Code
- Installing MetaMask
- Creating a New Wallet
- Getting SepoliaETH on Ethereum
- Bridging SepoliaETH from Ethereum to Arbitrum
- Adding Arbitrum Sepolia Network to MetaMask
- Wrap-up
- What's next?
1. Installing Node.js
What is Node.js?
Node.js is a JavaScript runtime built on Chrome's V8 engine. It allows us to run JavaScript code outside the browser, directly on your machine.
Why do you need it?
Node.js will be the backbone for your development workflow. You will use it to:
- Run the build tool Hardhat to compile and deploy your smart contracts
- Install and manage dependencies via npm
- Execute scripts that interact with the blockchain
How do you set it up?
1. Install nvm
You will install Node.js using nvm (Node Version Manager), which allows you to manage different Node.js versions on your system.
sudo apt update && sudo apt install -y curl

curl -o- https://raw.githubusercontent.com/nvm-sh/nvm/v0.40.3/install.sh | bash

export NVM_DIR="$([ -z "${XDG_CONFIG_HOME-}" ] && printf %s "${HOME}/.nvm" || printf %s "${XDG_CONFIG_HOME}/nvm")"
[ -s "$NVM_DIR/nvm.sh" ] && \. "$NVM_DIR/nvm.sh"
2. Install Node.js
Now that nvm is installed, you will use it to install the latest Long-Term Support (LTS) version of Node.js (i.e. 22) so that we are all running the same environment.
nvm install 22
nvm use 22
3. Verify your installation
Let's make sure everything is set up correctly:
node -v
npm -v
npx --version
Expected output:
v22.y.z
10.y.z
x.y.z
2. Installing Visual Studio Code
What is Visual Studio Code?
Visual Studio Code (VS Code) is a free, open-source code editor developed by Microsoft. It is lightweight but powerful, and supports many programming languages through extensions.
Why do you need it?
You will use VS Code to:
- Write and edit your Solidity smart contracts
- Get syntax highlighting and IntelliSense
- Run commands and scripts directly in its integrated terminal
How do you set it up?
1. Install VS Code
Open the Visual Studio Code installation guide and follow the installation instructions.
2. Verify your installation
Let's make sure VS Code was installed correctly and is available from the terminal:
code --versionExpected output:
1.1xy.z
<some-commit-hash>
x64
3. Install recommended extensions
To make working with Solidity smart contracts easier, you will install a few extensions:
| Name | Description |
|---|---|
| Solidity | Adds language support for Solidity and provides editor integration for Hardhat projects |
| Solidity Language & Themes (only) | Enables Solidity code highlighting |
| Solidity Visual Developer | Supports developers in writing secure and well understood code |
Quick install from terminal:
code --install-extension NomicFoundation.hardhat-solidity
code --install-extension tintinweb.vscode-solidity-language
code --install-extension tintinweb.solidity-visual-auditor
3. Installing MetaMask
What is MetaMask?
MetaMask is a free browser extension wallet that allows us to store keys, sign transactions, and interact with a blockchain directly from your browser.
Why do you need it?
You will use MetaMask to:
- Create and manage your test wallet
- Hold testnet ETH for deploying and interacting with the smart contracts
- Connect to Ethereum Sepolia and Arbitrum Sepolia networks
How do you set it up?
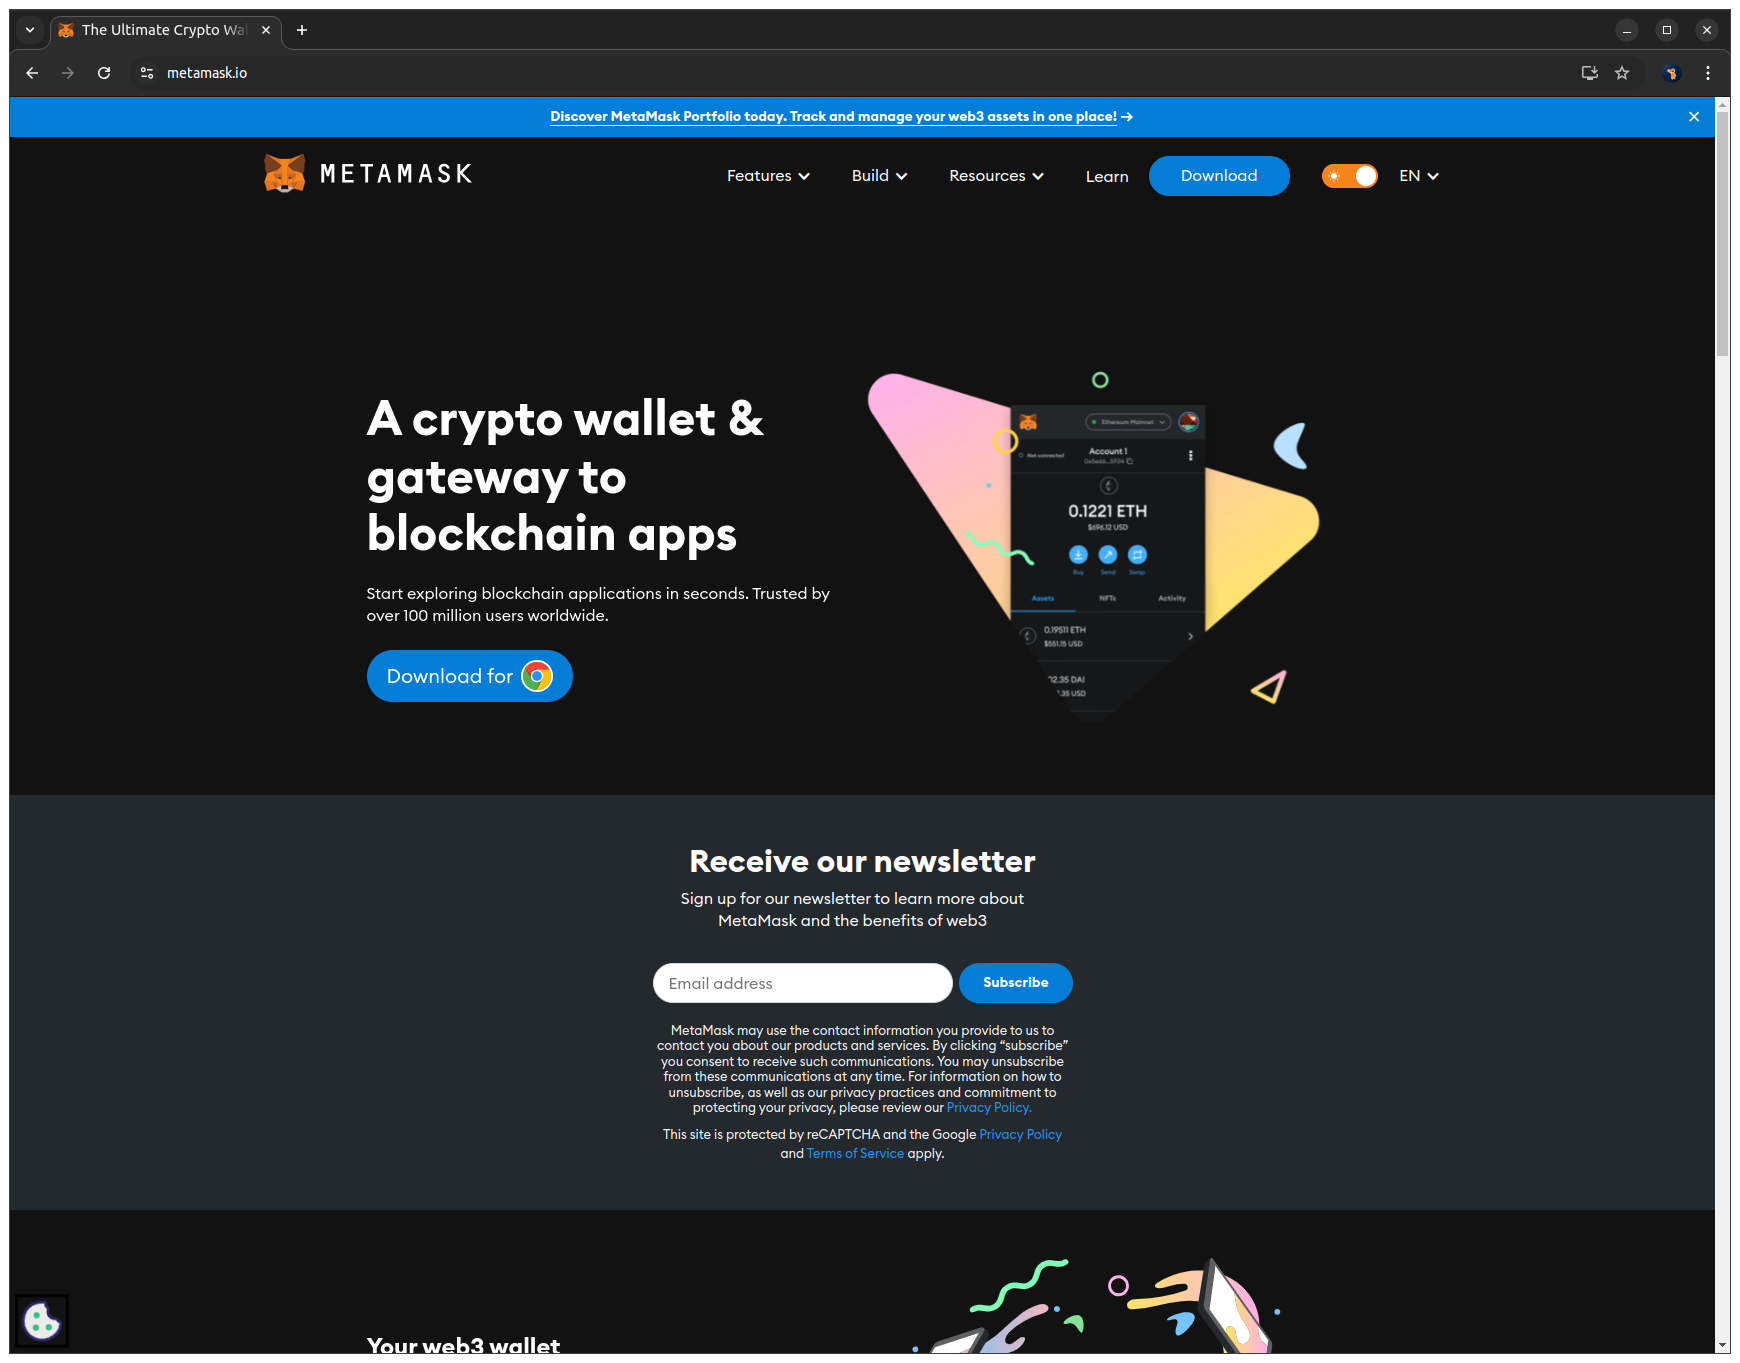
1. Open MetaMask's official download page and click Download for Chrome to open the chrome web store
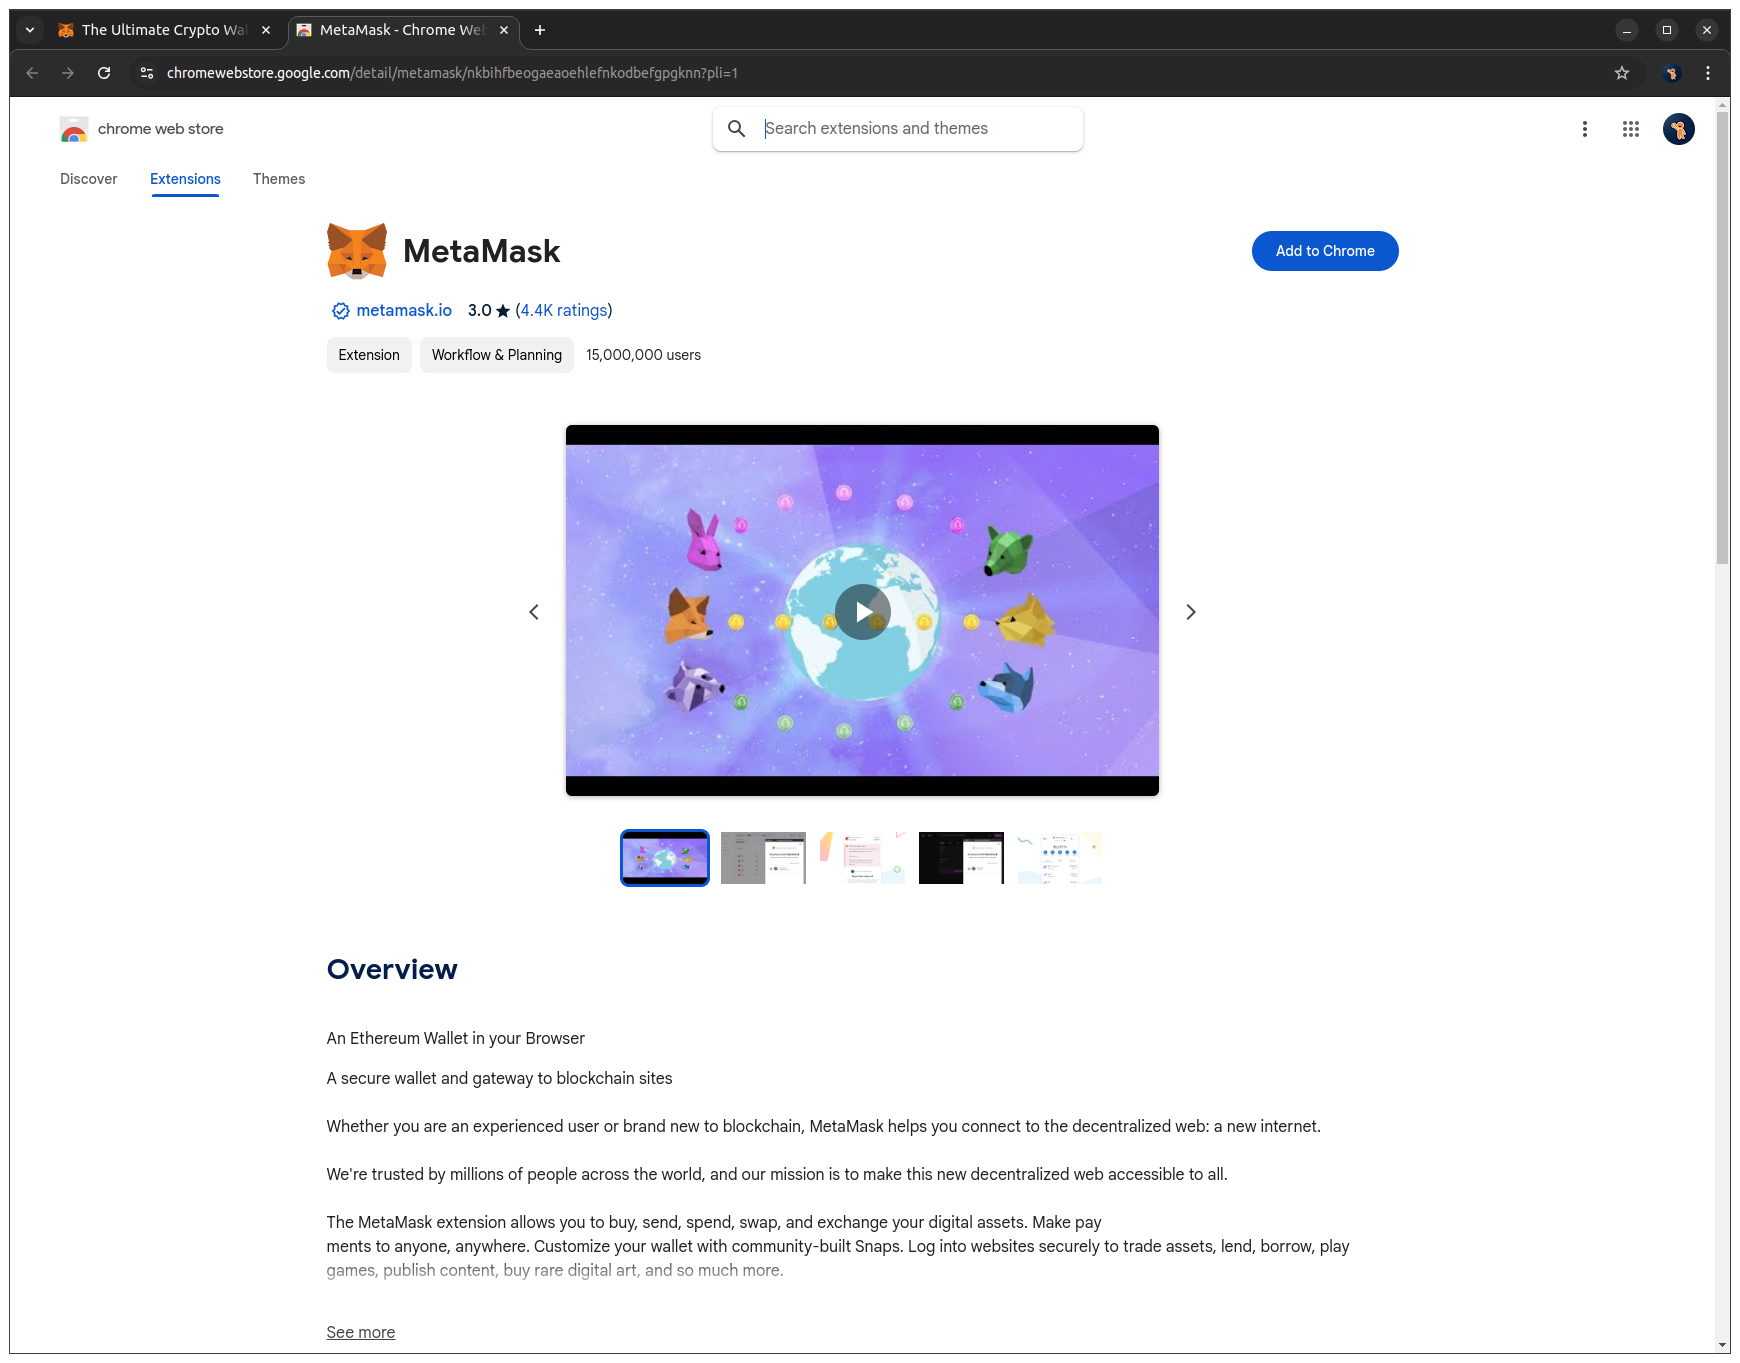
2. Click Add to Chrome to install the extension in your browser.
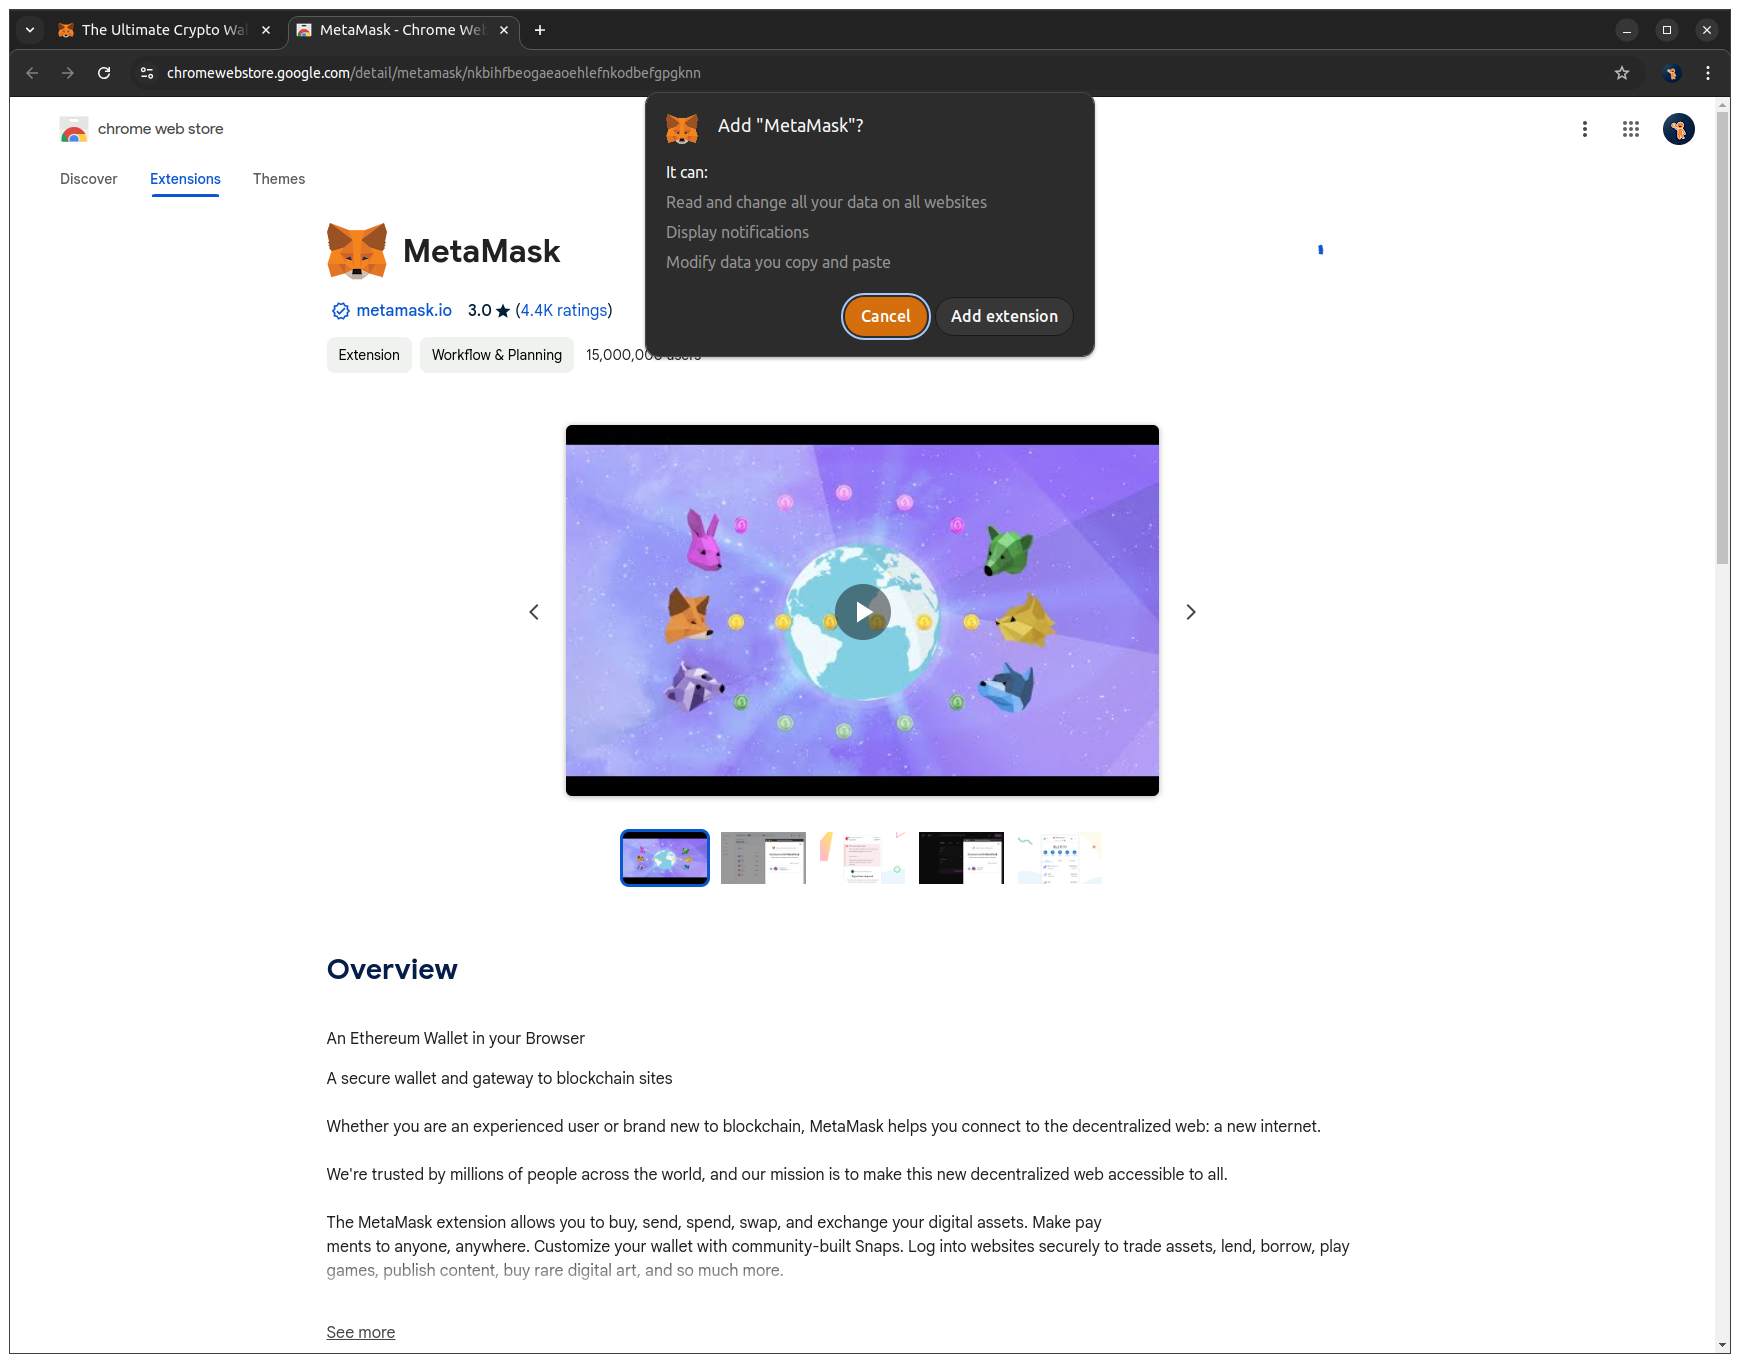
3. Click Add extension to complete the installation.
4. Creating a new Wallet
What is a wallet?
A wallet in MetaMask is like a secure key manager. Simply put, it creates your private keys, stores them on your device, and lets you use them to send and receive cryptocurrencies, as well as connect to blockchain apps.
Why do you need it?
You will create a new test wallet just for this tutorial. This way, you can explore and practice on test networks (testnets) without spending any real money.
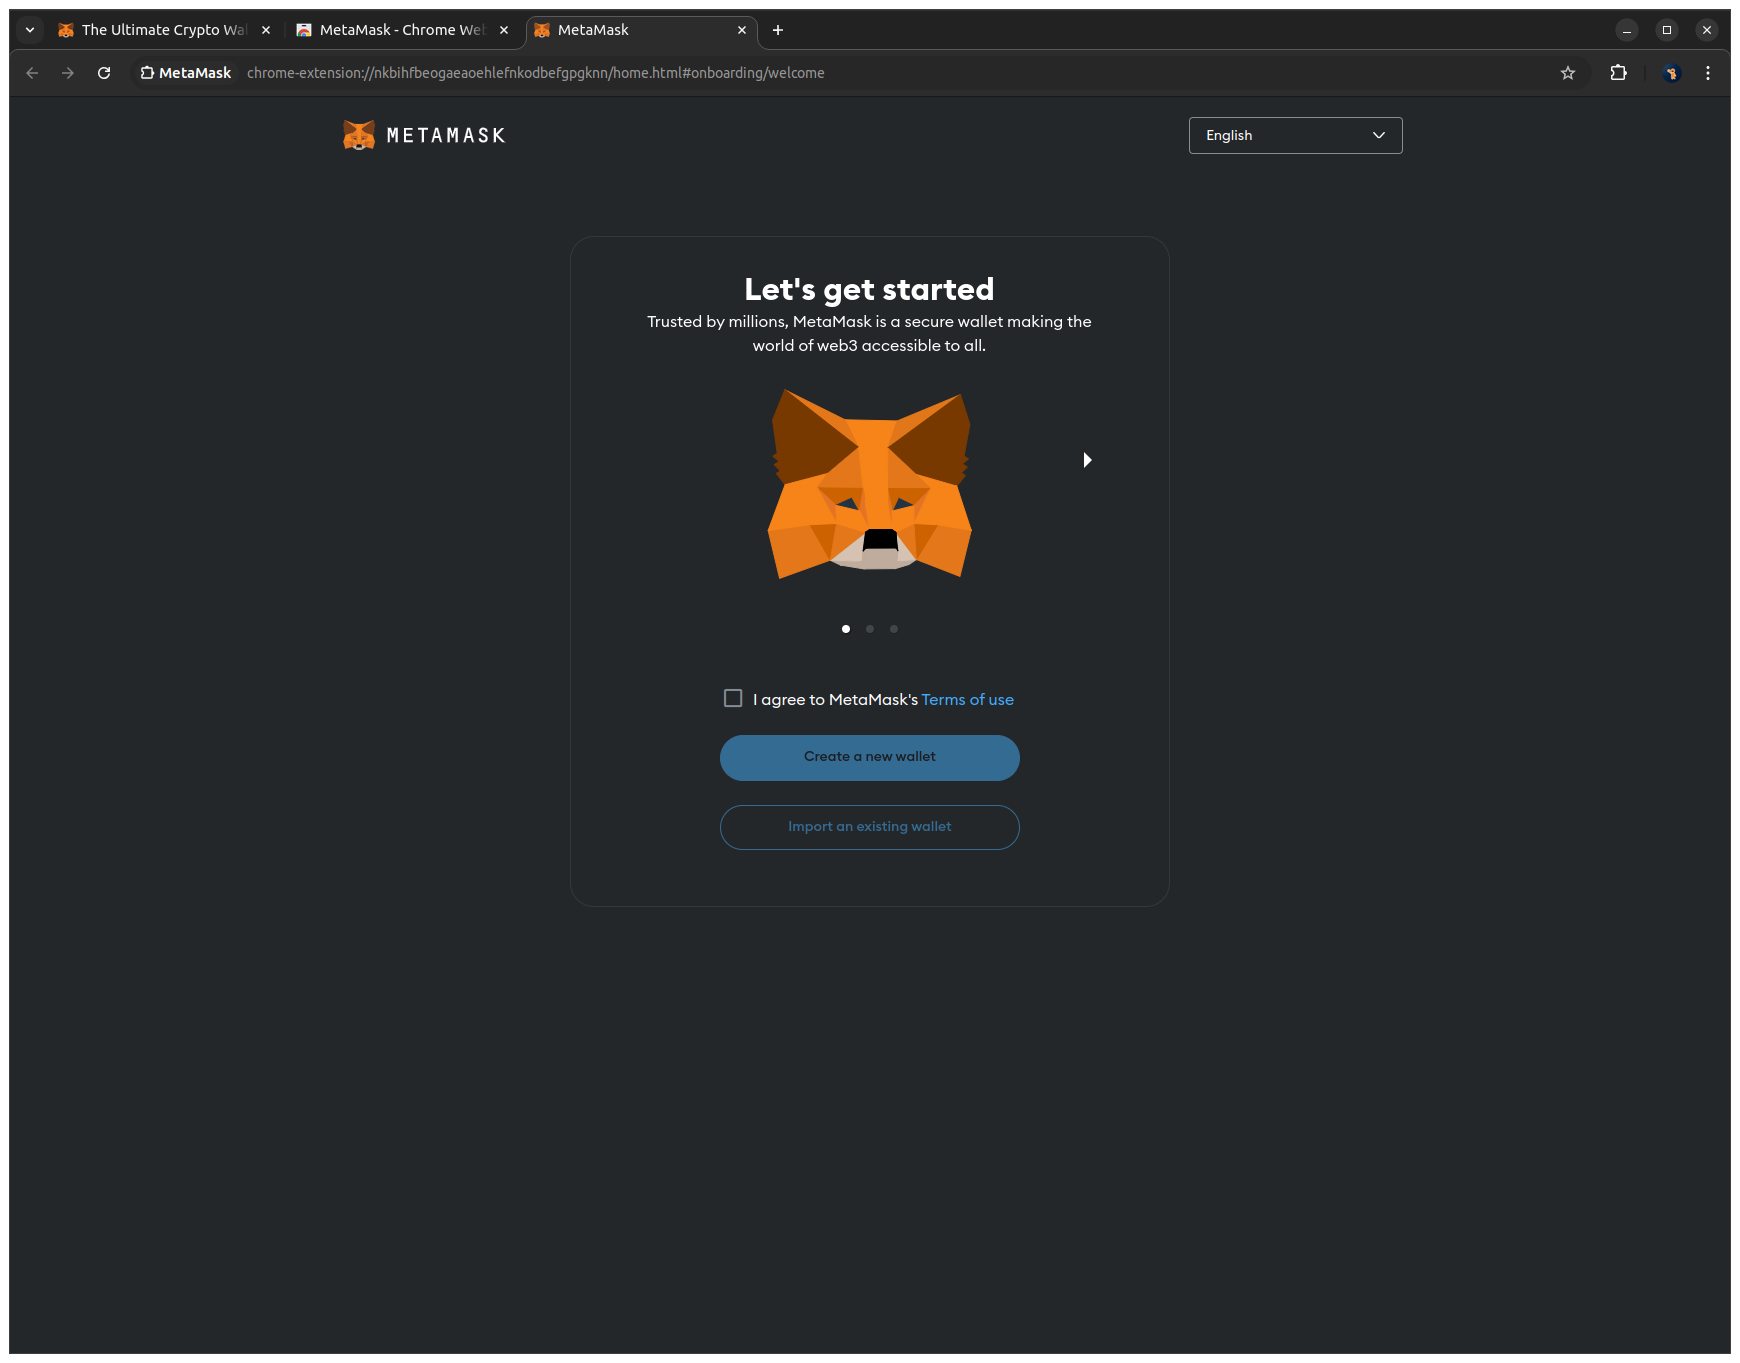
1. Enable the checkbox I agree to MetaMask's Terms of Use to accept the terms and click Create a new wallet to start the wallet creation process.
2. Click No thanks to disable sending usage data to MetaMask.

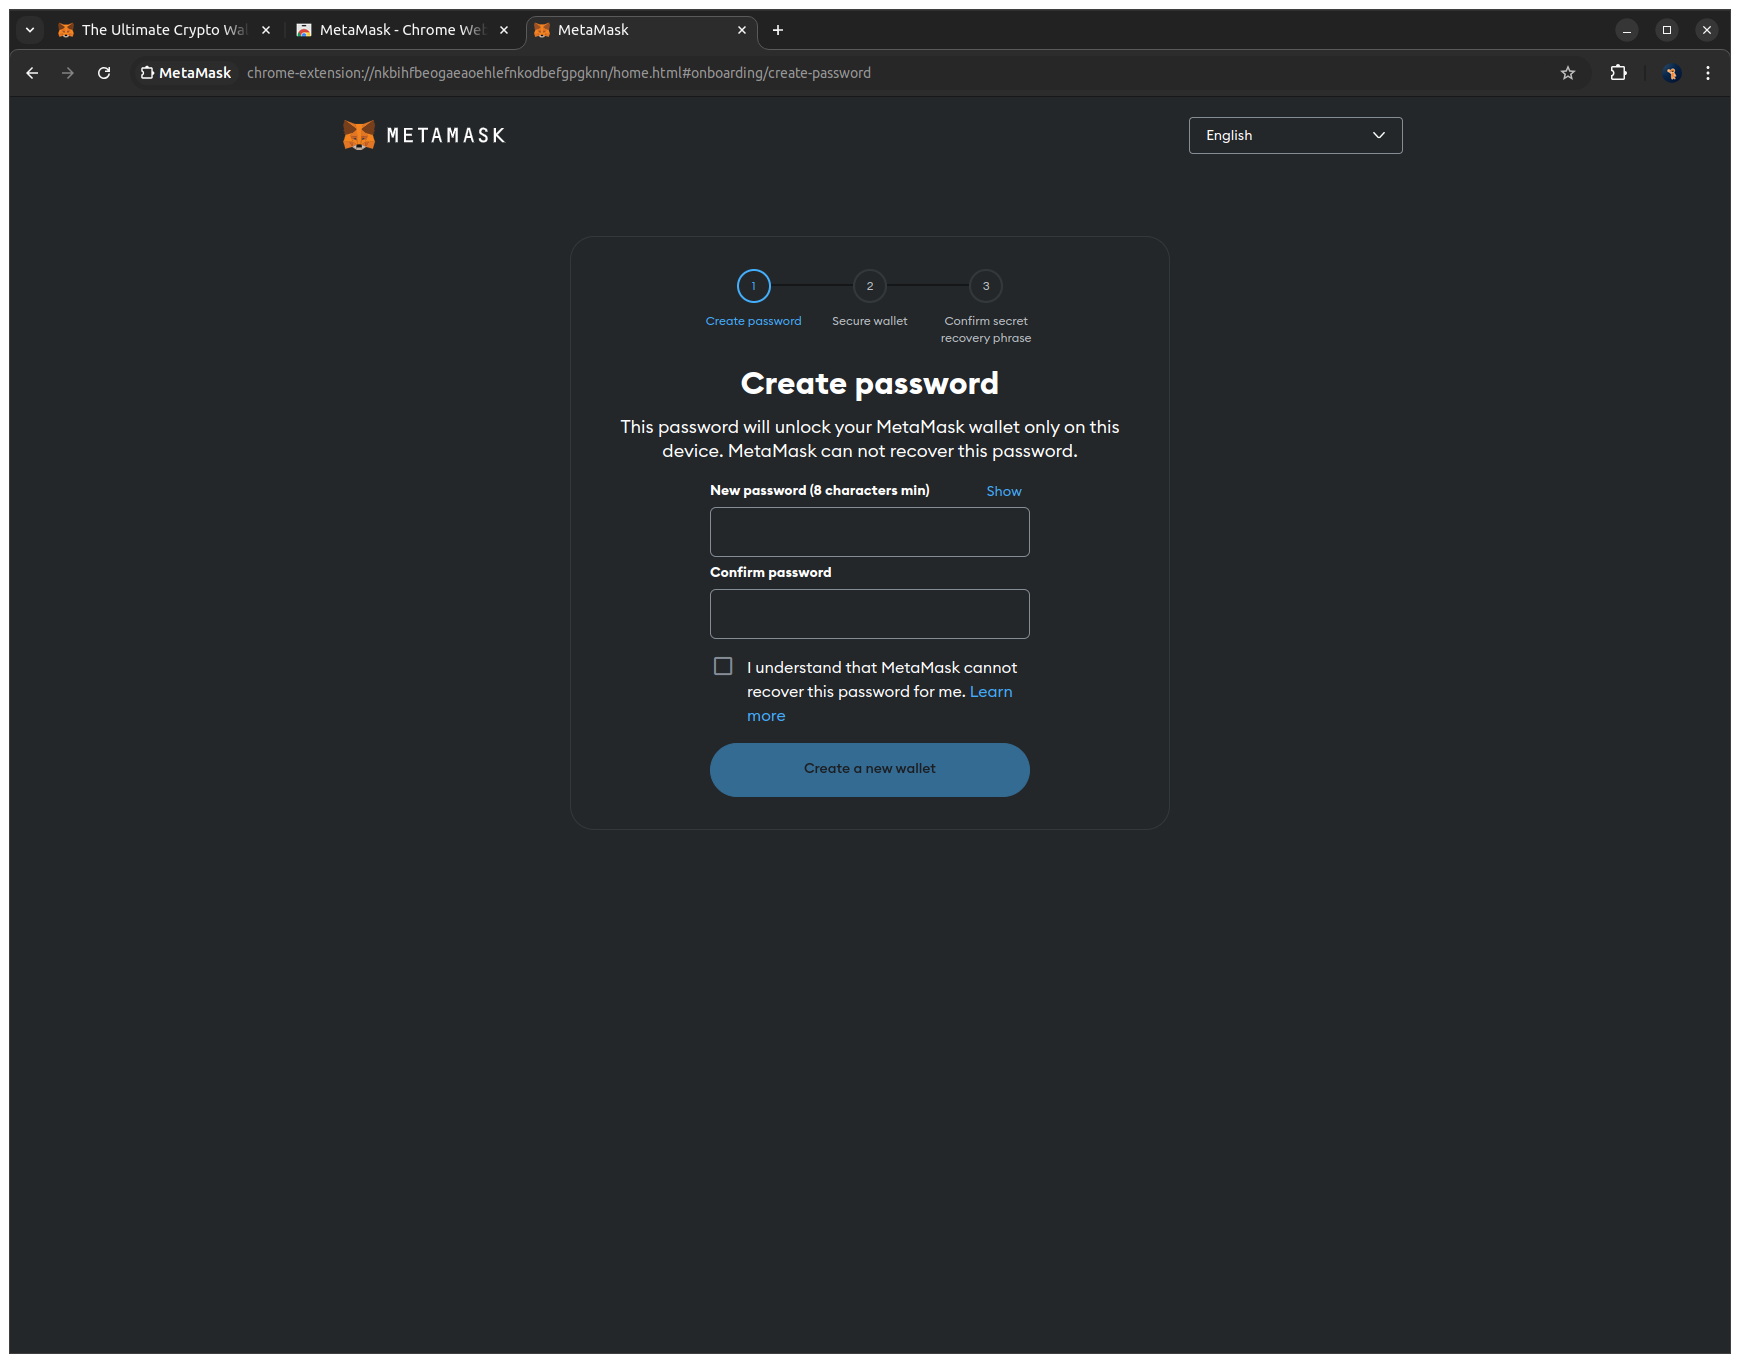
3. Enter a strong password in both fields to secure your wallet locally, enable the checkbox, and click Create a new wallet to continue.
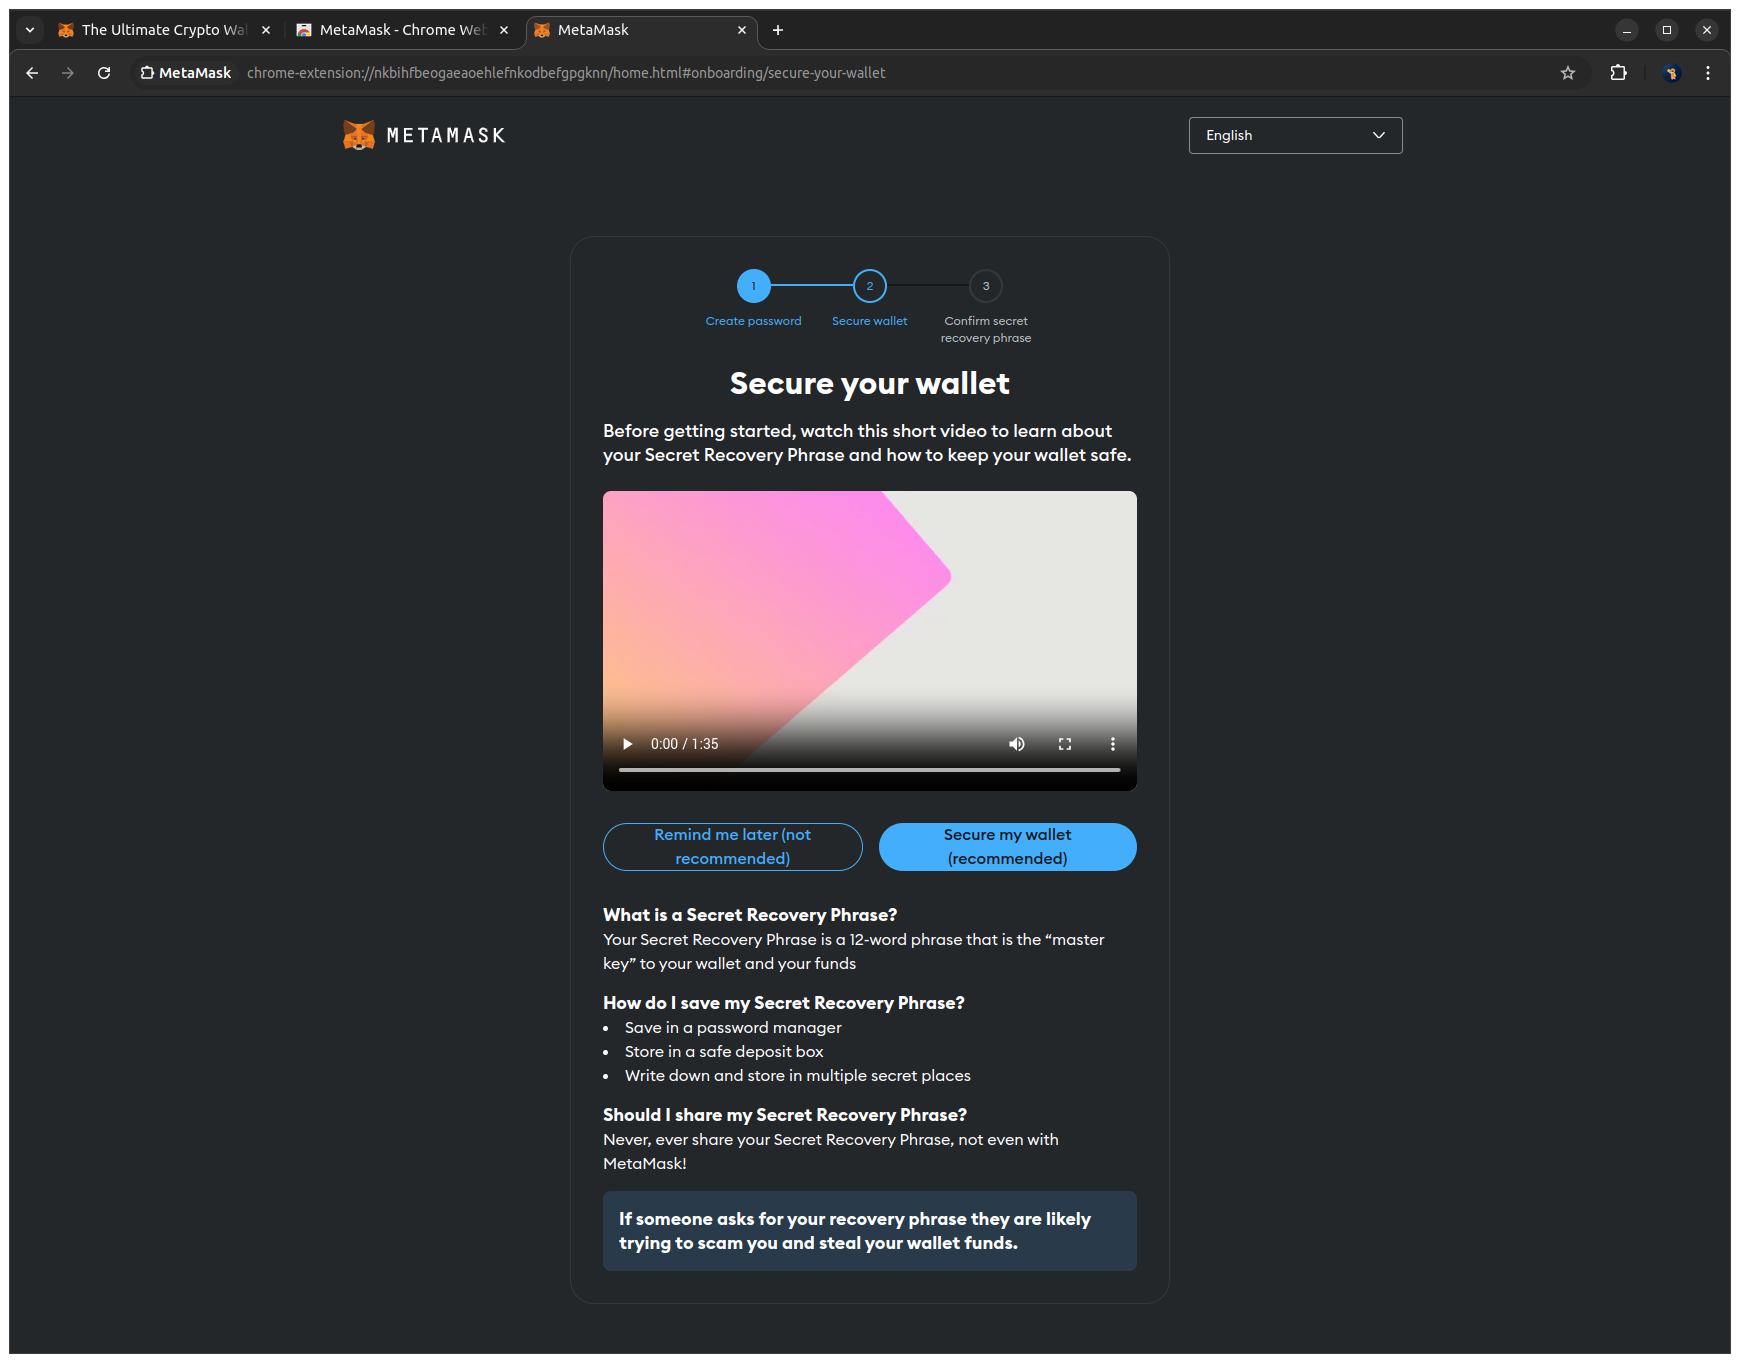
4. Click Secure my wallet (recommended) to proceed to the Secret Recovery Phrase setup.
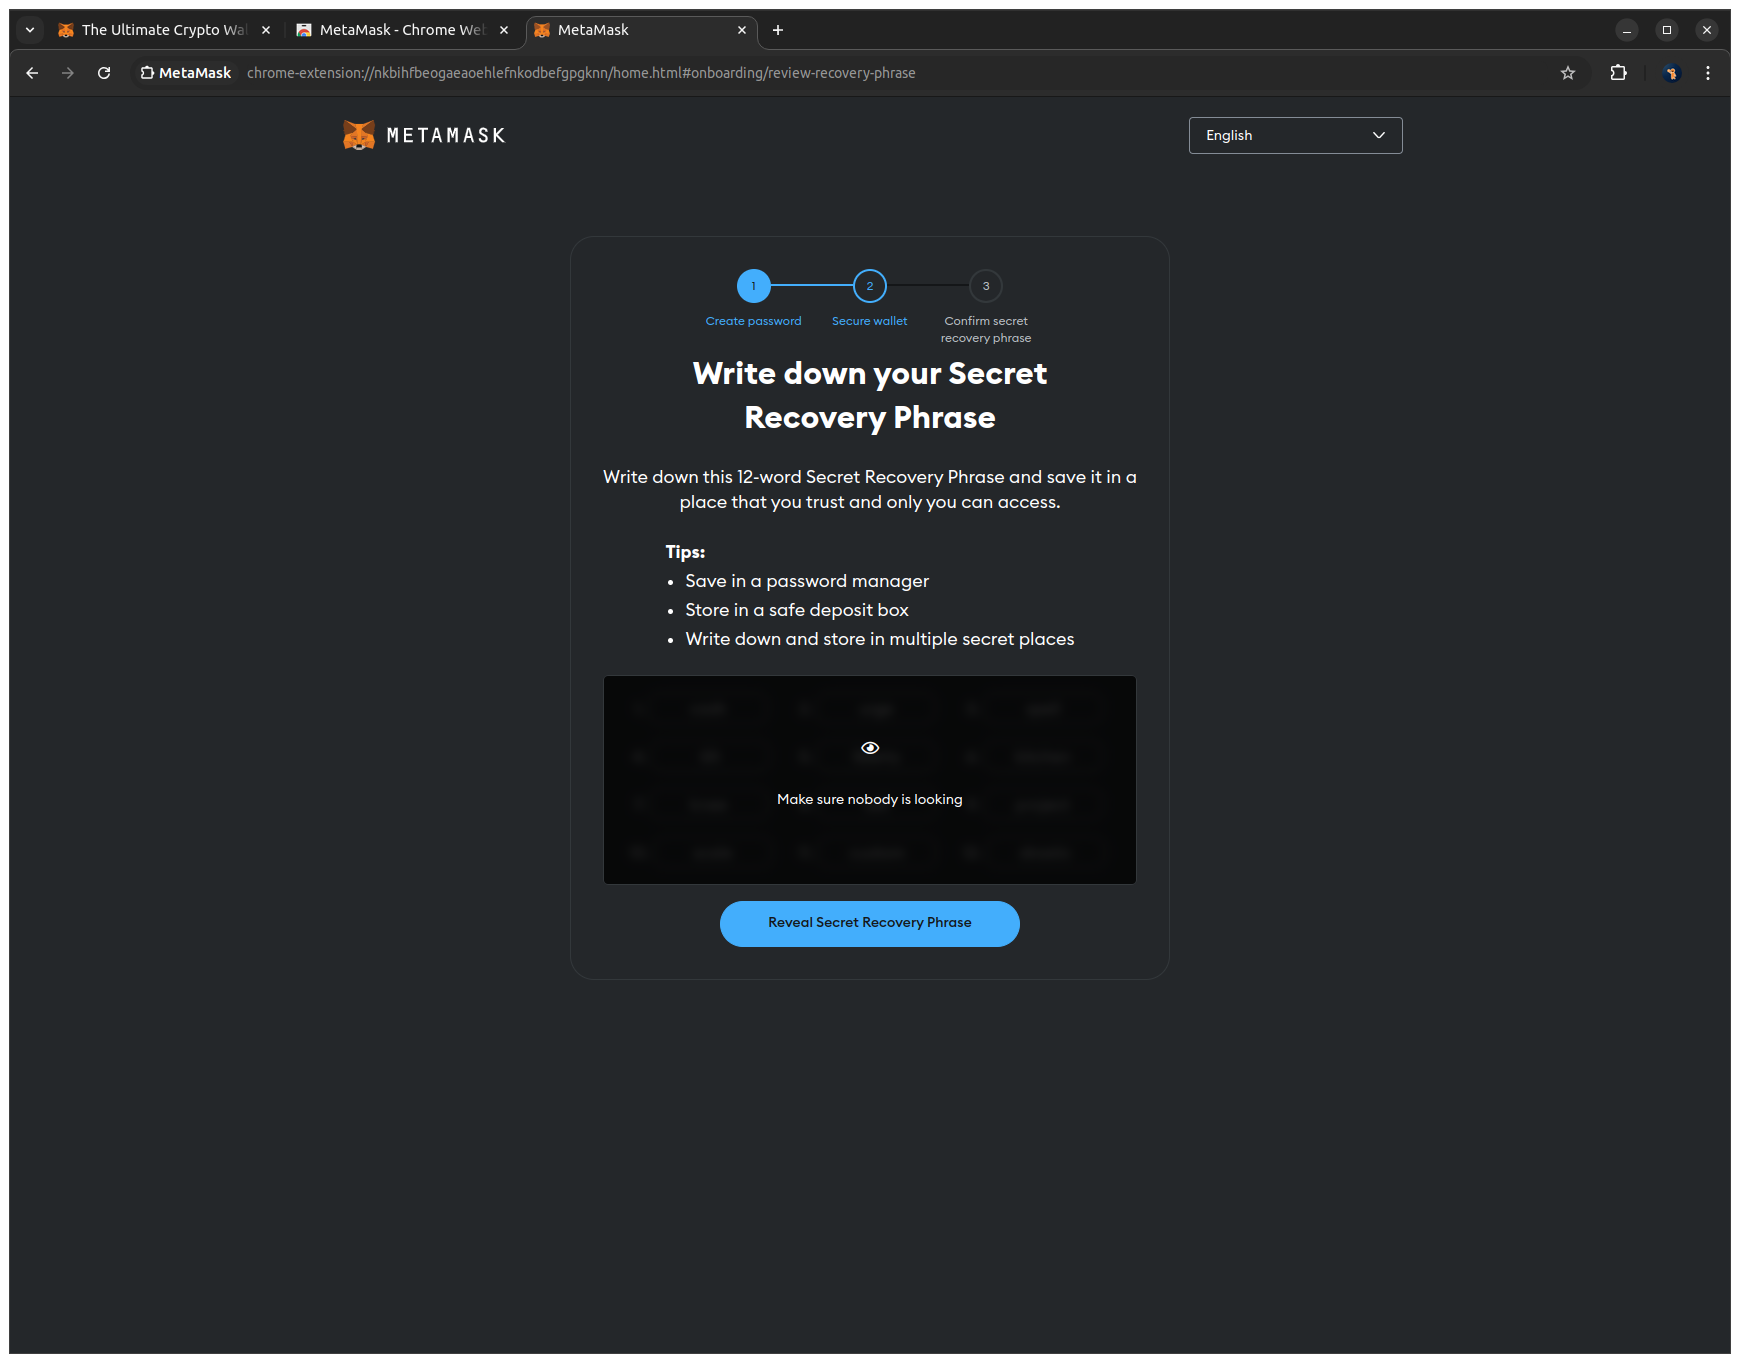
5. Click Reveal Secret Recovery Phrase to view your phrase, write it down on paper to store it in a safe place, and click Next to proceed.
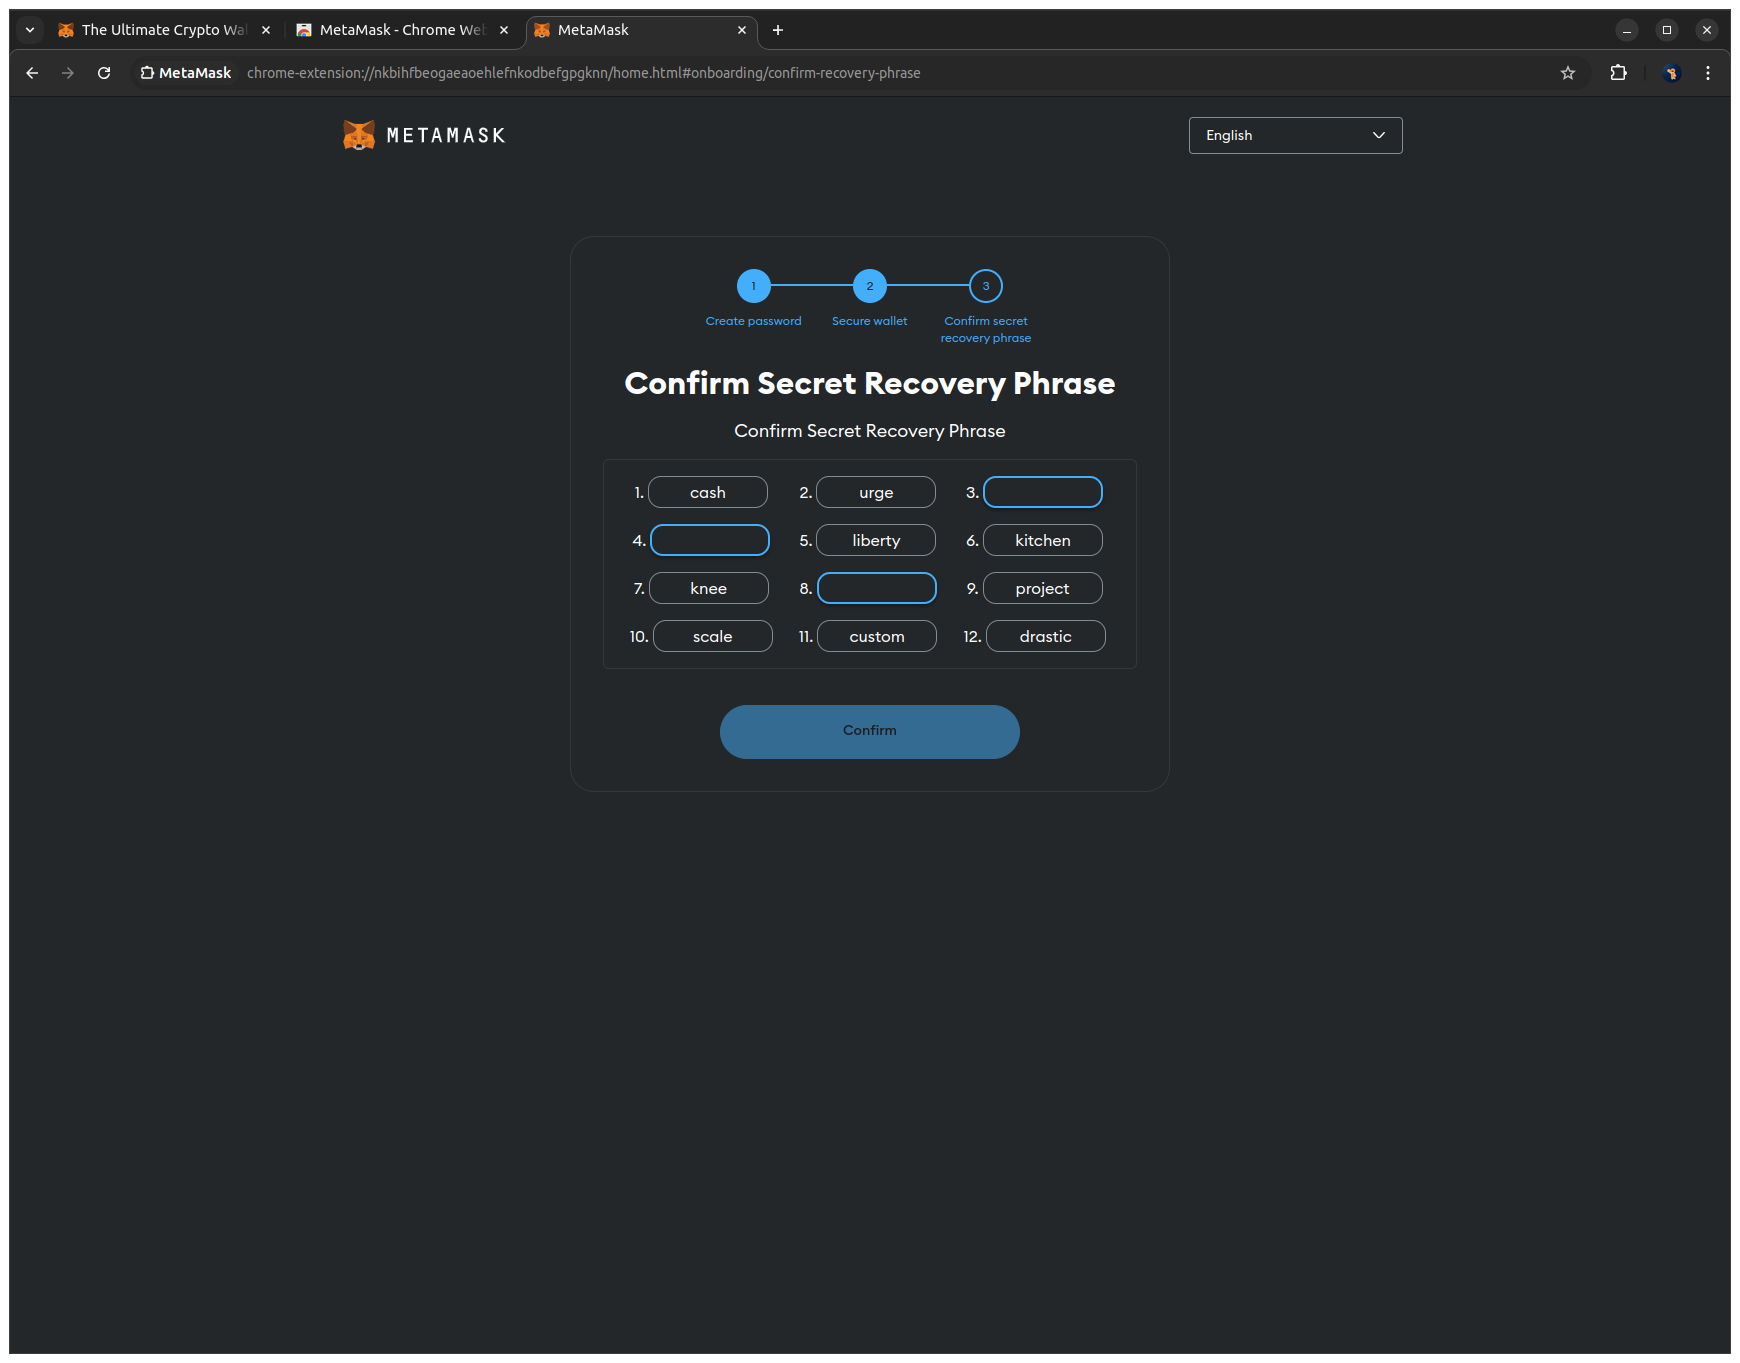
6. Enter the missing words of your Secret Recovery Phrase in the correct order to confirm your backup and click Confirm to finalize the setup.
7. Click Got it to finish the setup.
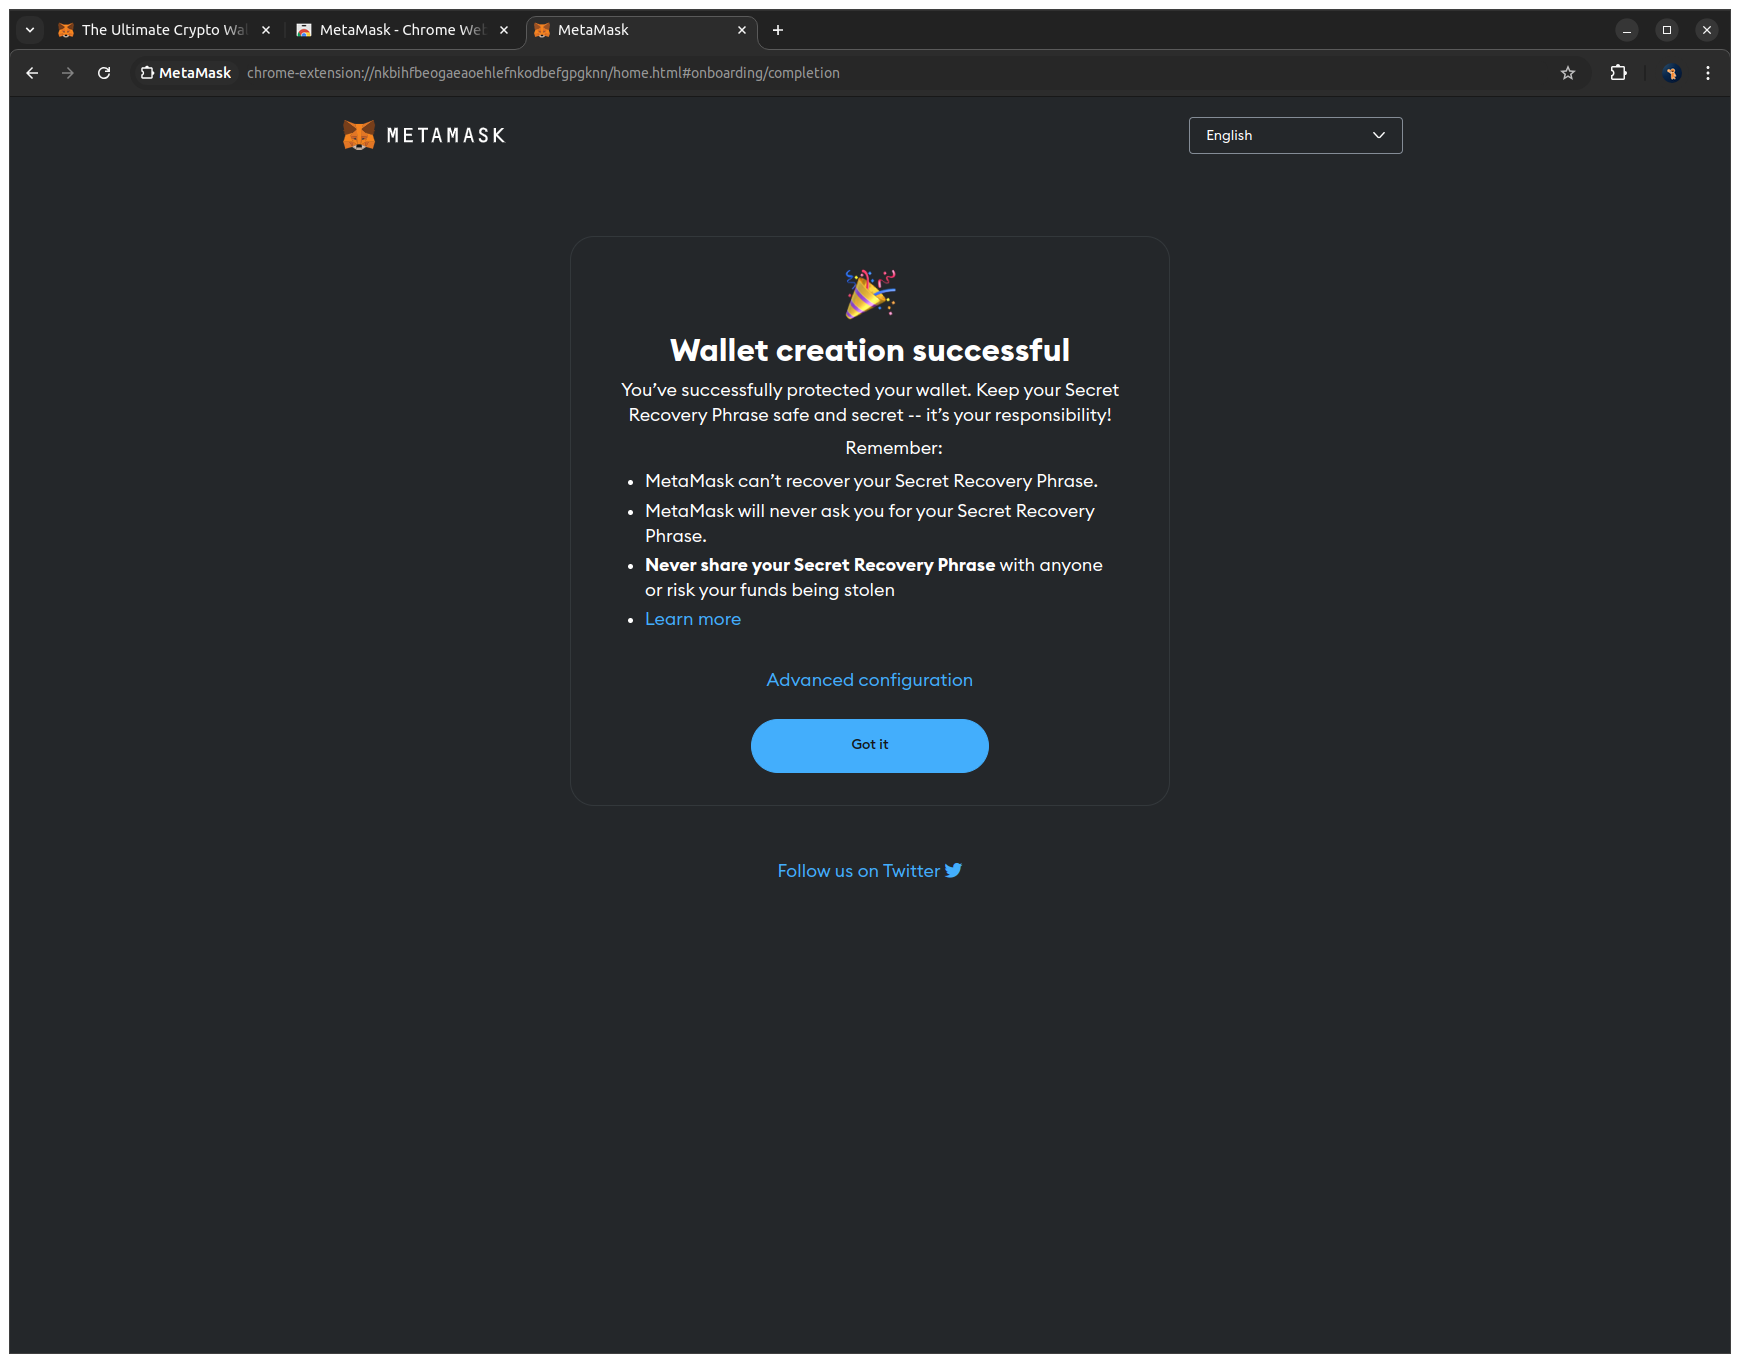
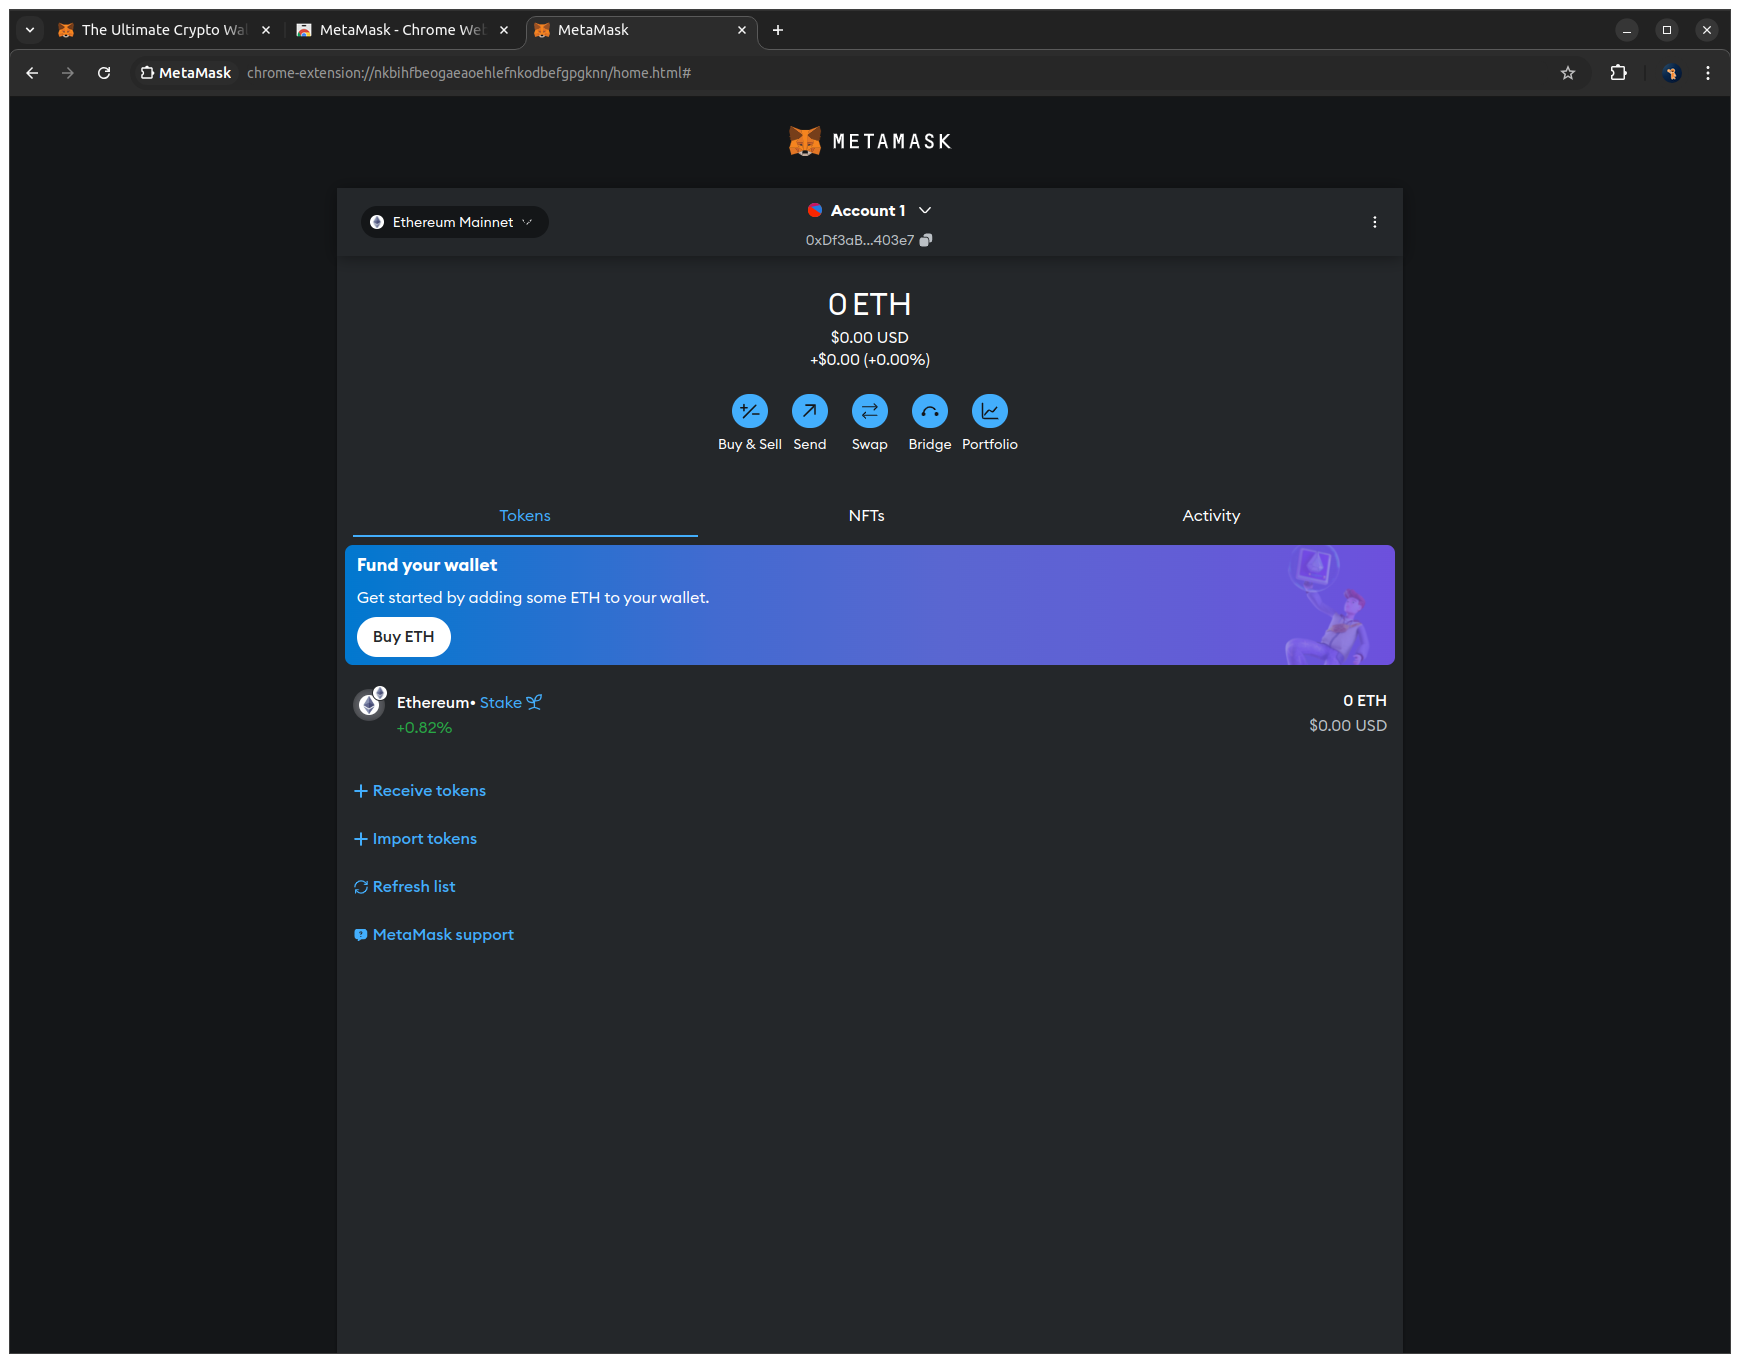
8. After clicking through the info screens, you will see the main MetaMask view with your public address and ETH balance at the top.
5. Getting SepoliaETH on Ethereum
What is SepoliaETH?
SepoliaETH is the native token of the Ethereum Sepolia testnet. It works like real ETH but has no real-world value and is only used to pay for transaction fees in a testing environment.
Why do you need it?
You will use SepoliaETH to deploy your smart contracts and interact with them on the Sepolia testnet. Every transaction on the blockchain requires a small fee (called "gas"), paid in the network's native token.
How do you set it up?
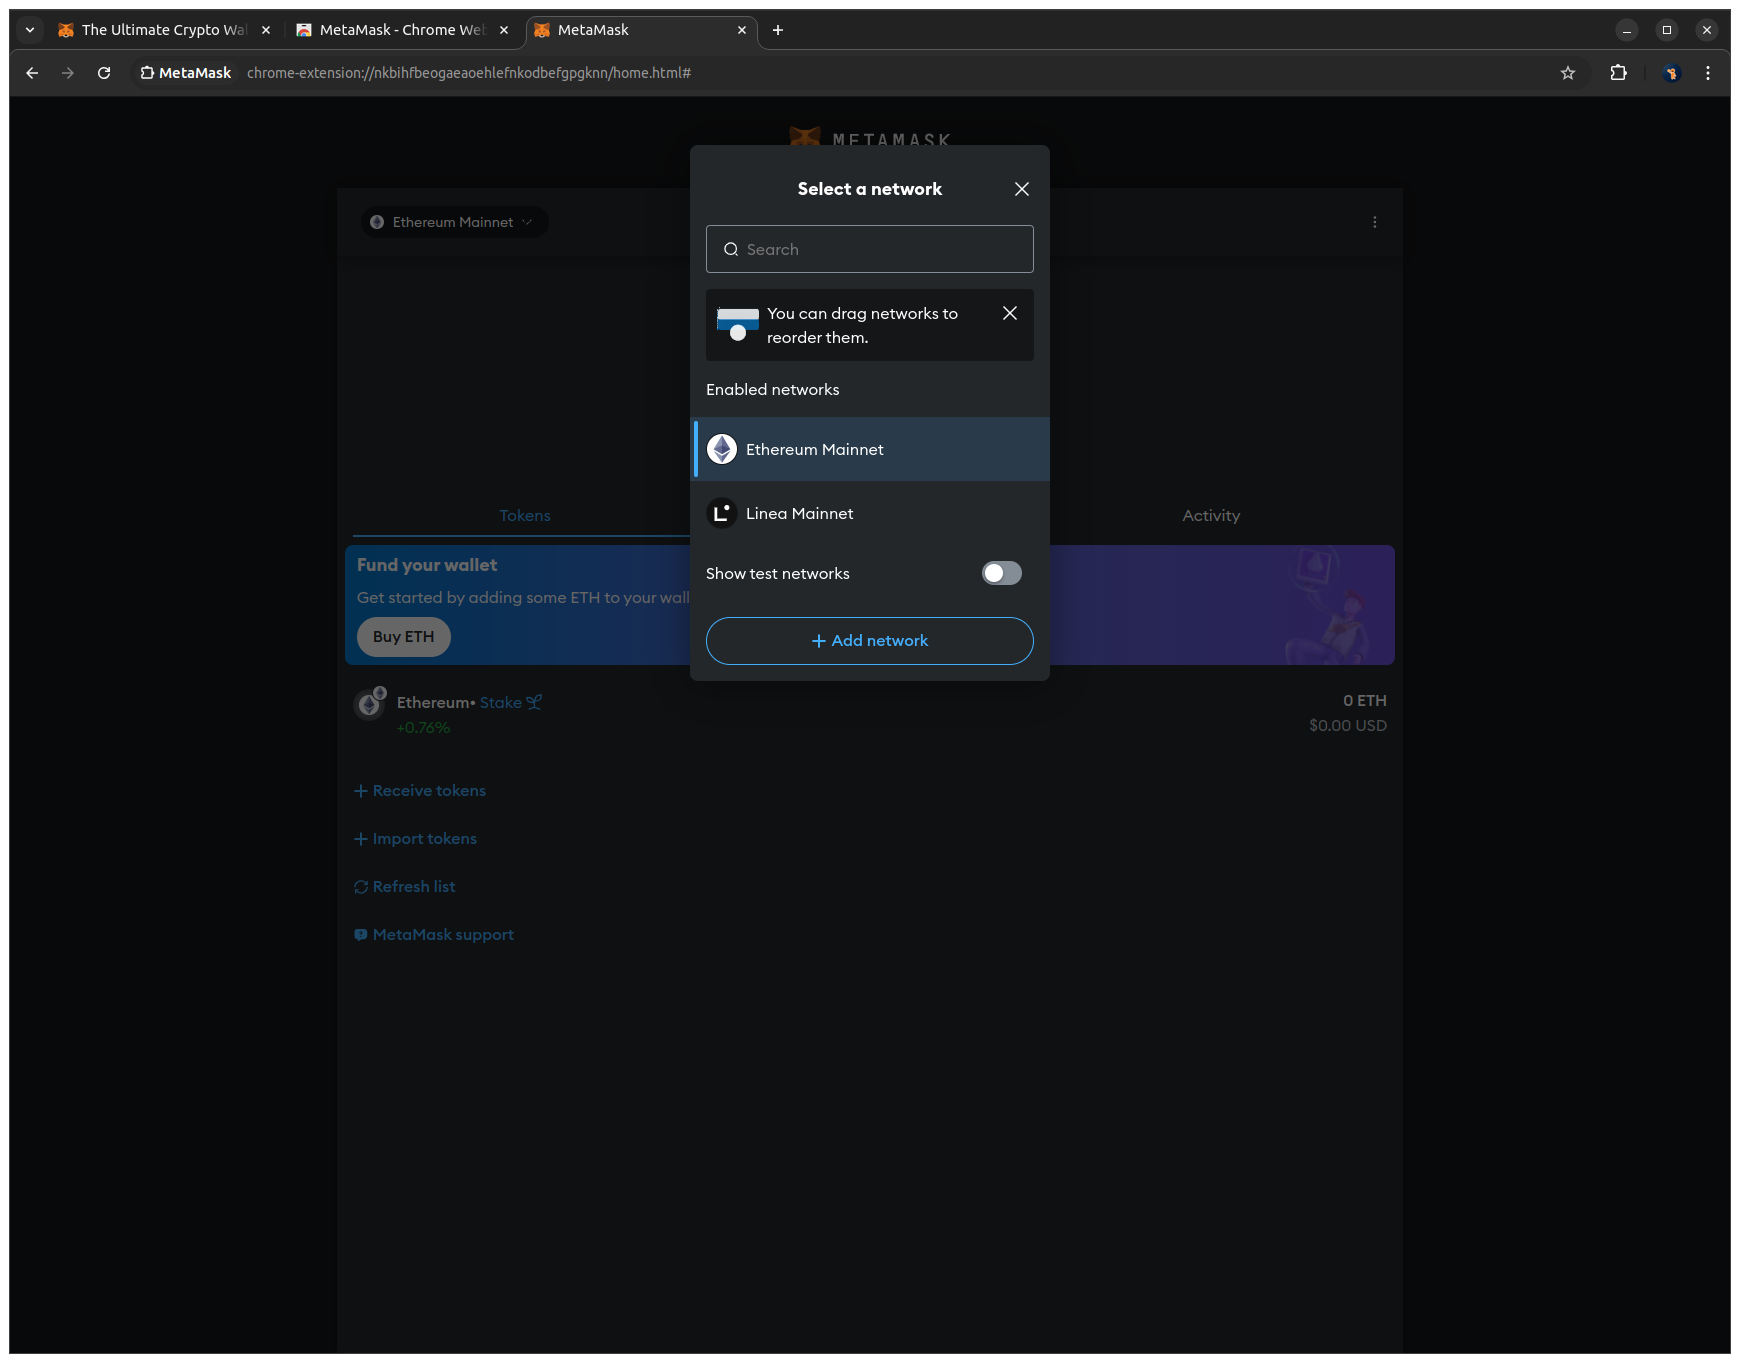
1. Click the network dropdown in the top left corner of MetaMask to open the list of available networks. (Ethereum Mainnet is currently selected)

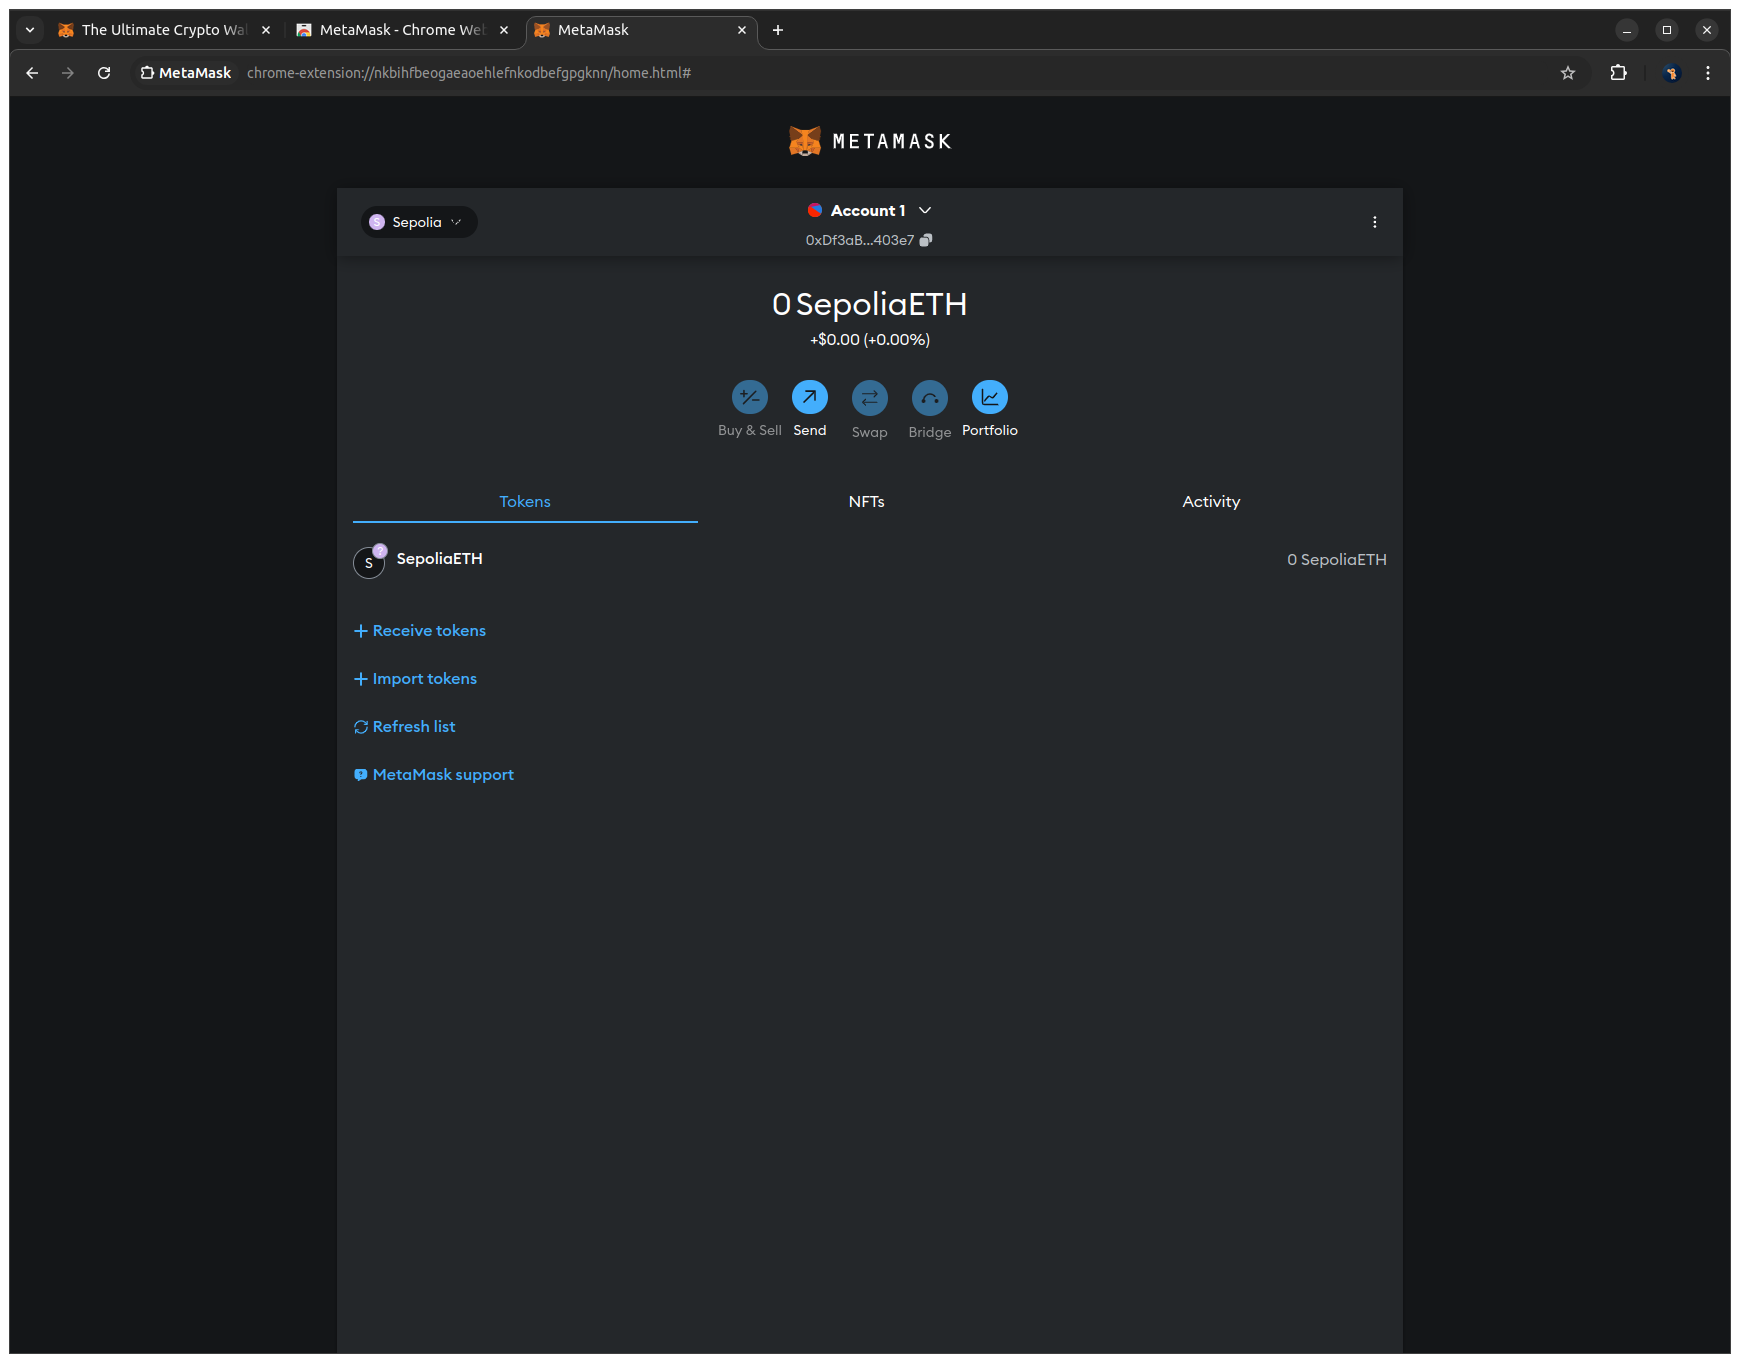
2. Enable Show test networks to make the Sepolia testnet visible and select the Sepolia network to switch MetaMask to the testnet.
3. Click the copy icon next to your public address to copy it to your clipboard.
4. Go to the Google Sepolia Faucet to request free SepoliaETH and sign in with your Google account if prompted.
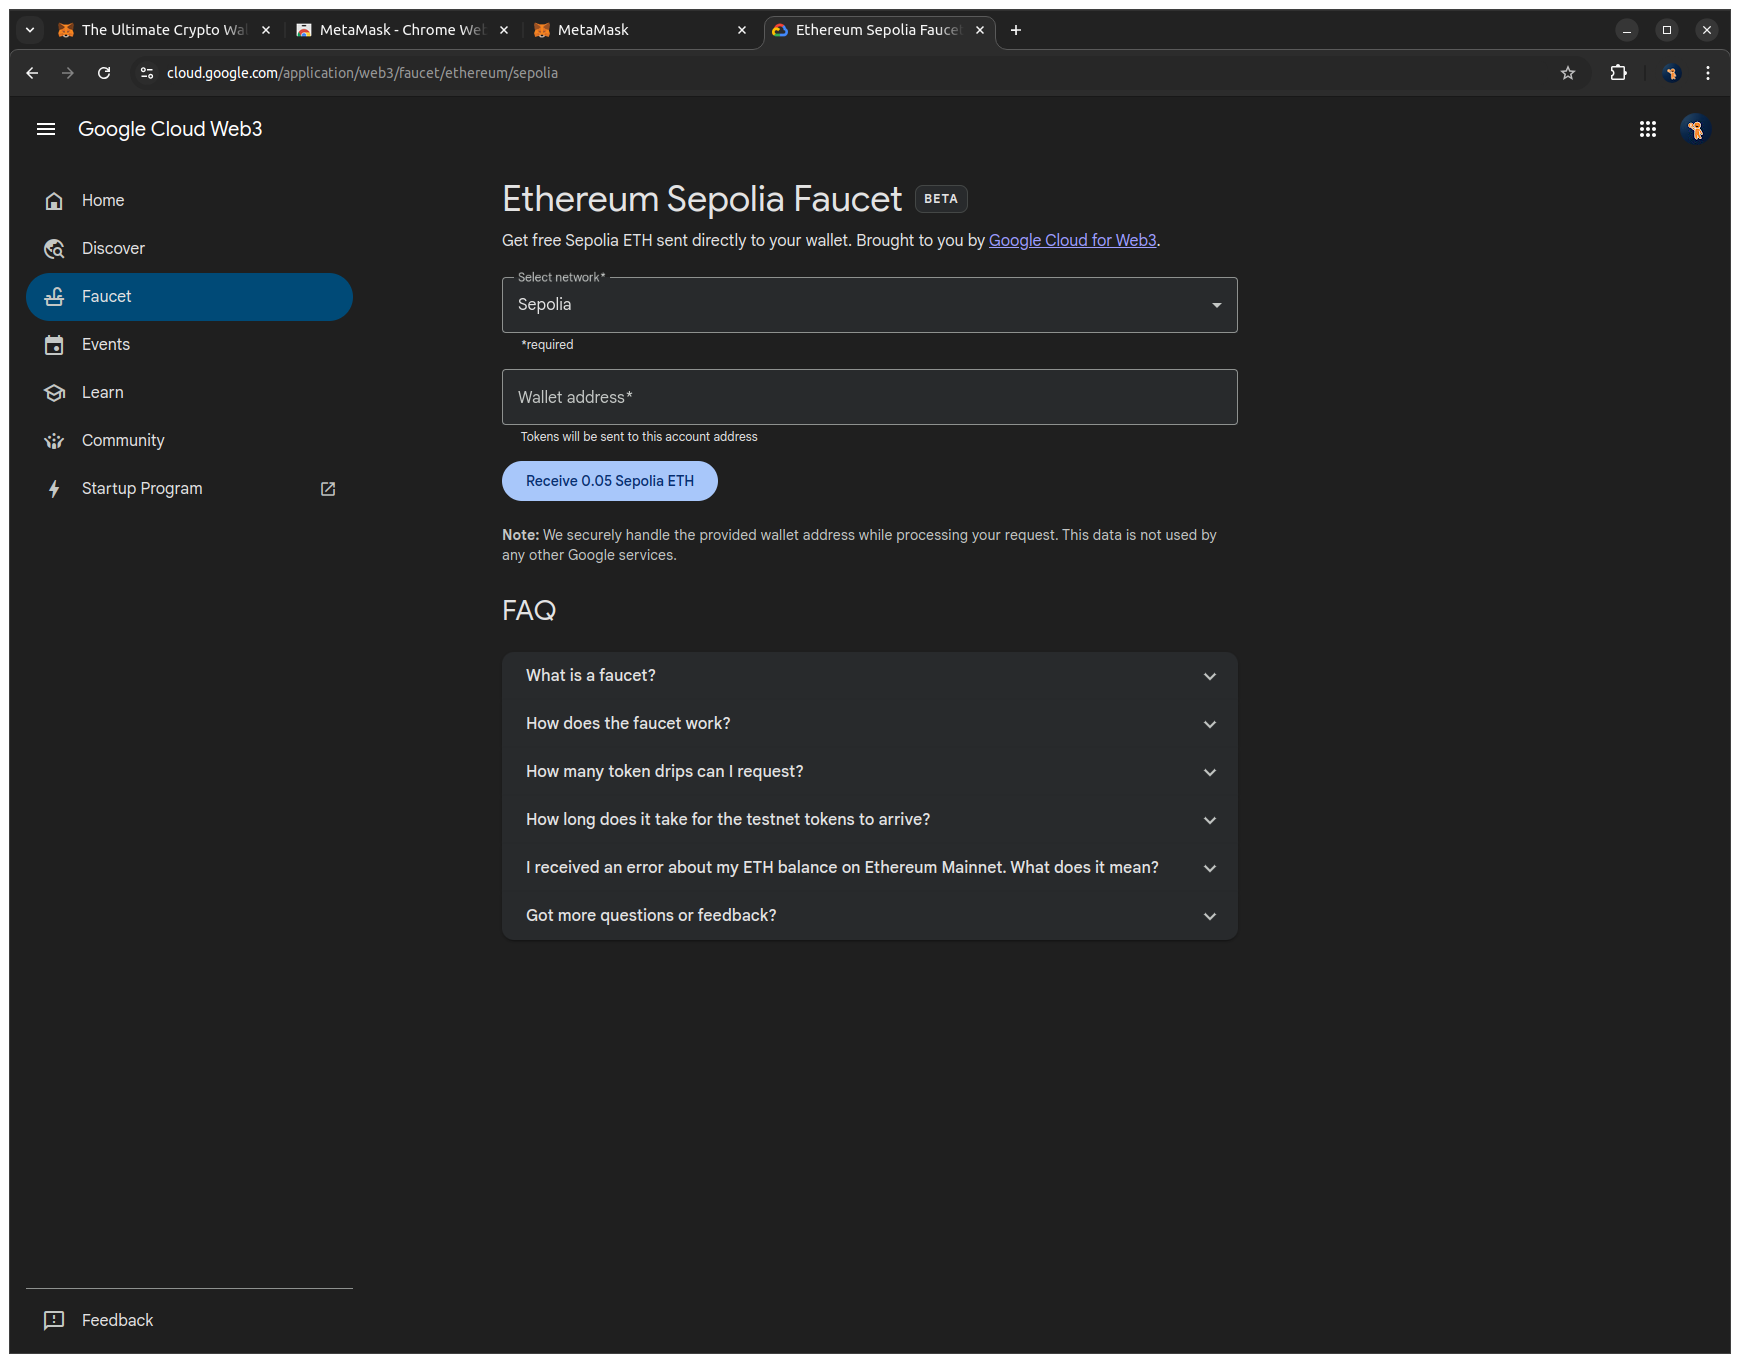
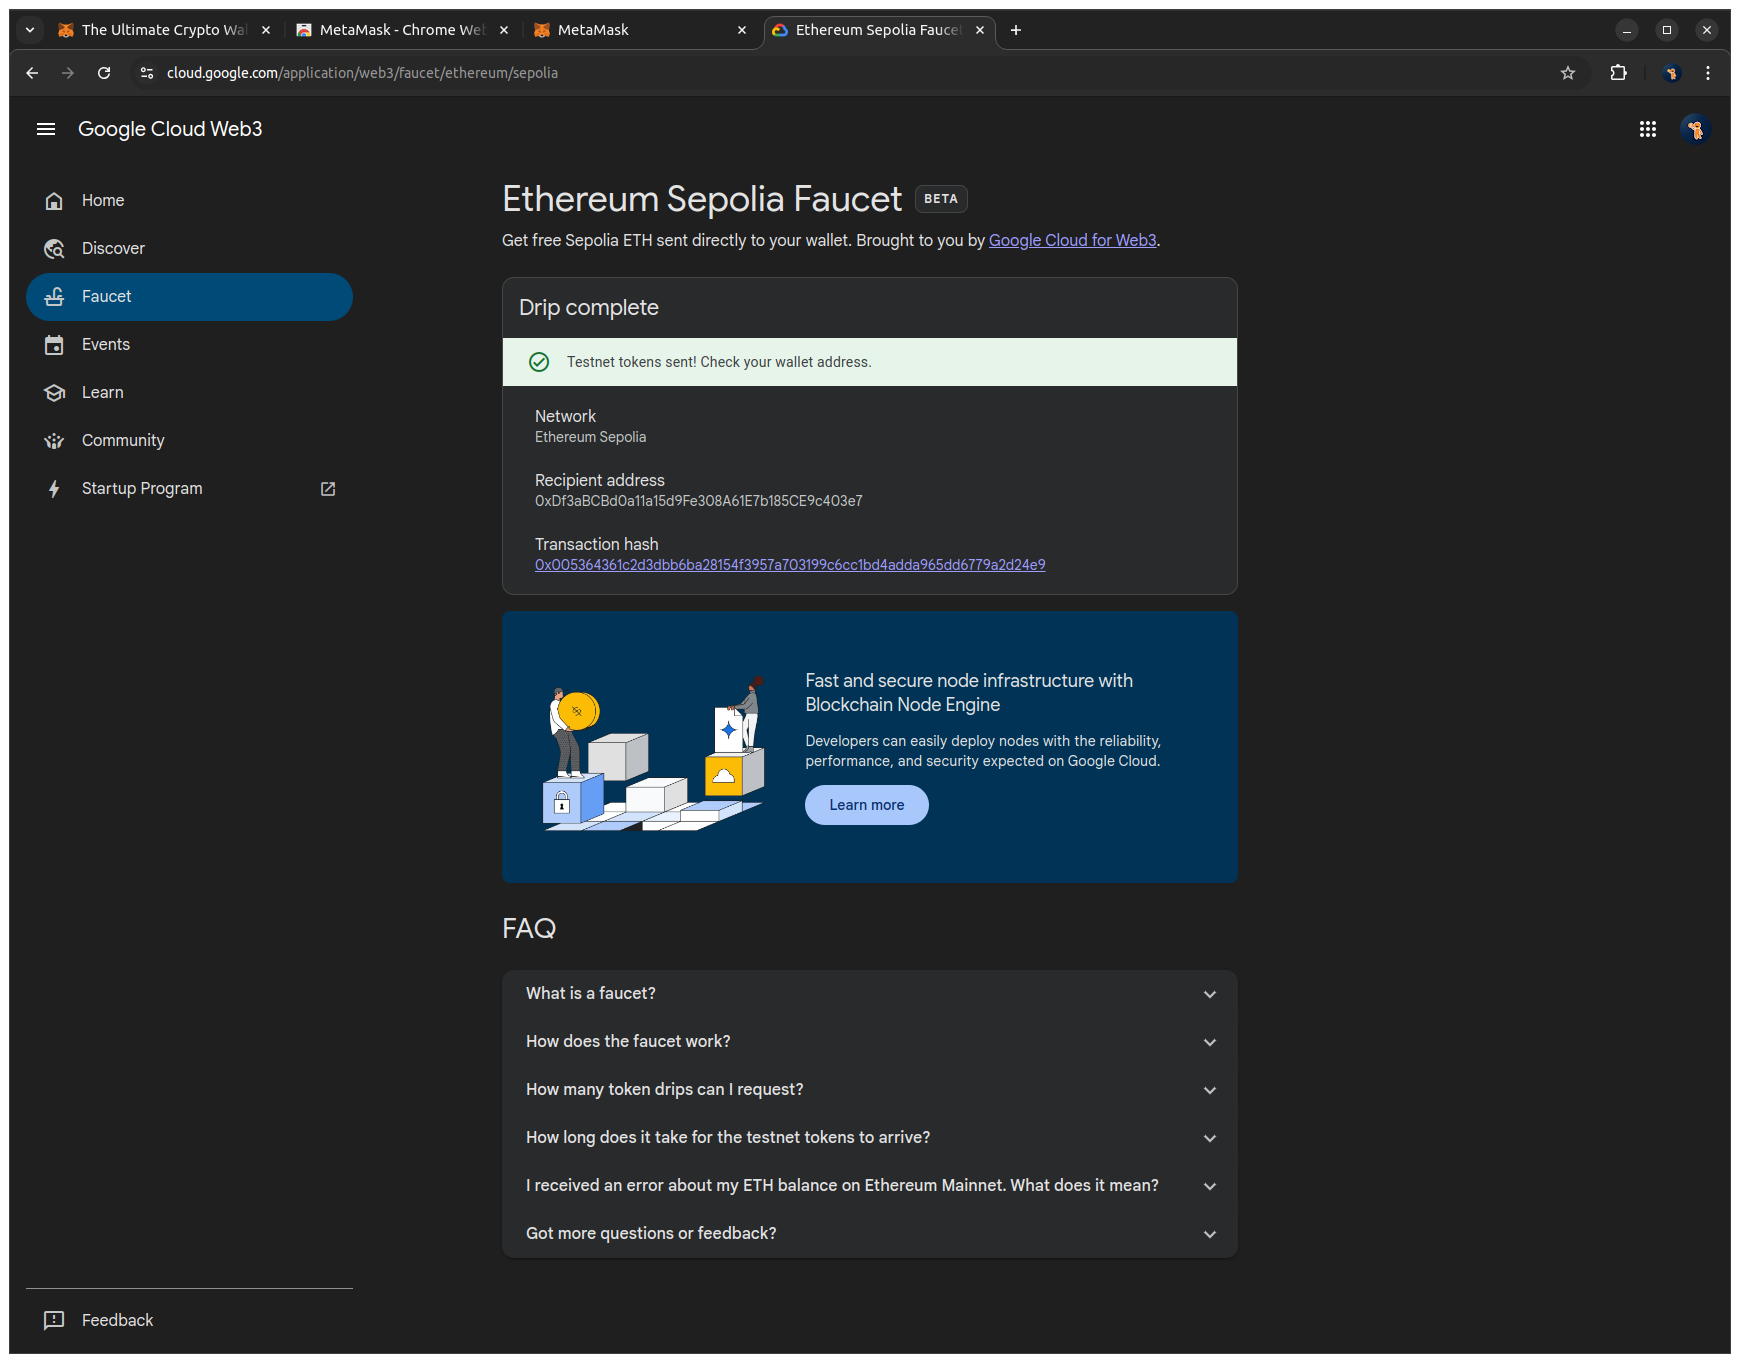
5. Paste your public address into the input field and click Receive 0.05 SepoliaETH to send testnet ETH to your wallet. After a few seconds, a success message with the transaction hash will confirm that the transfer has been processed.
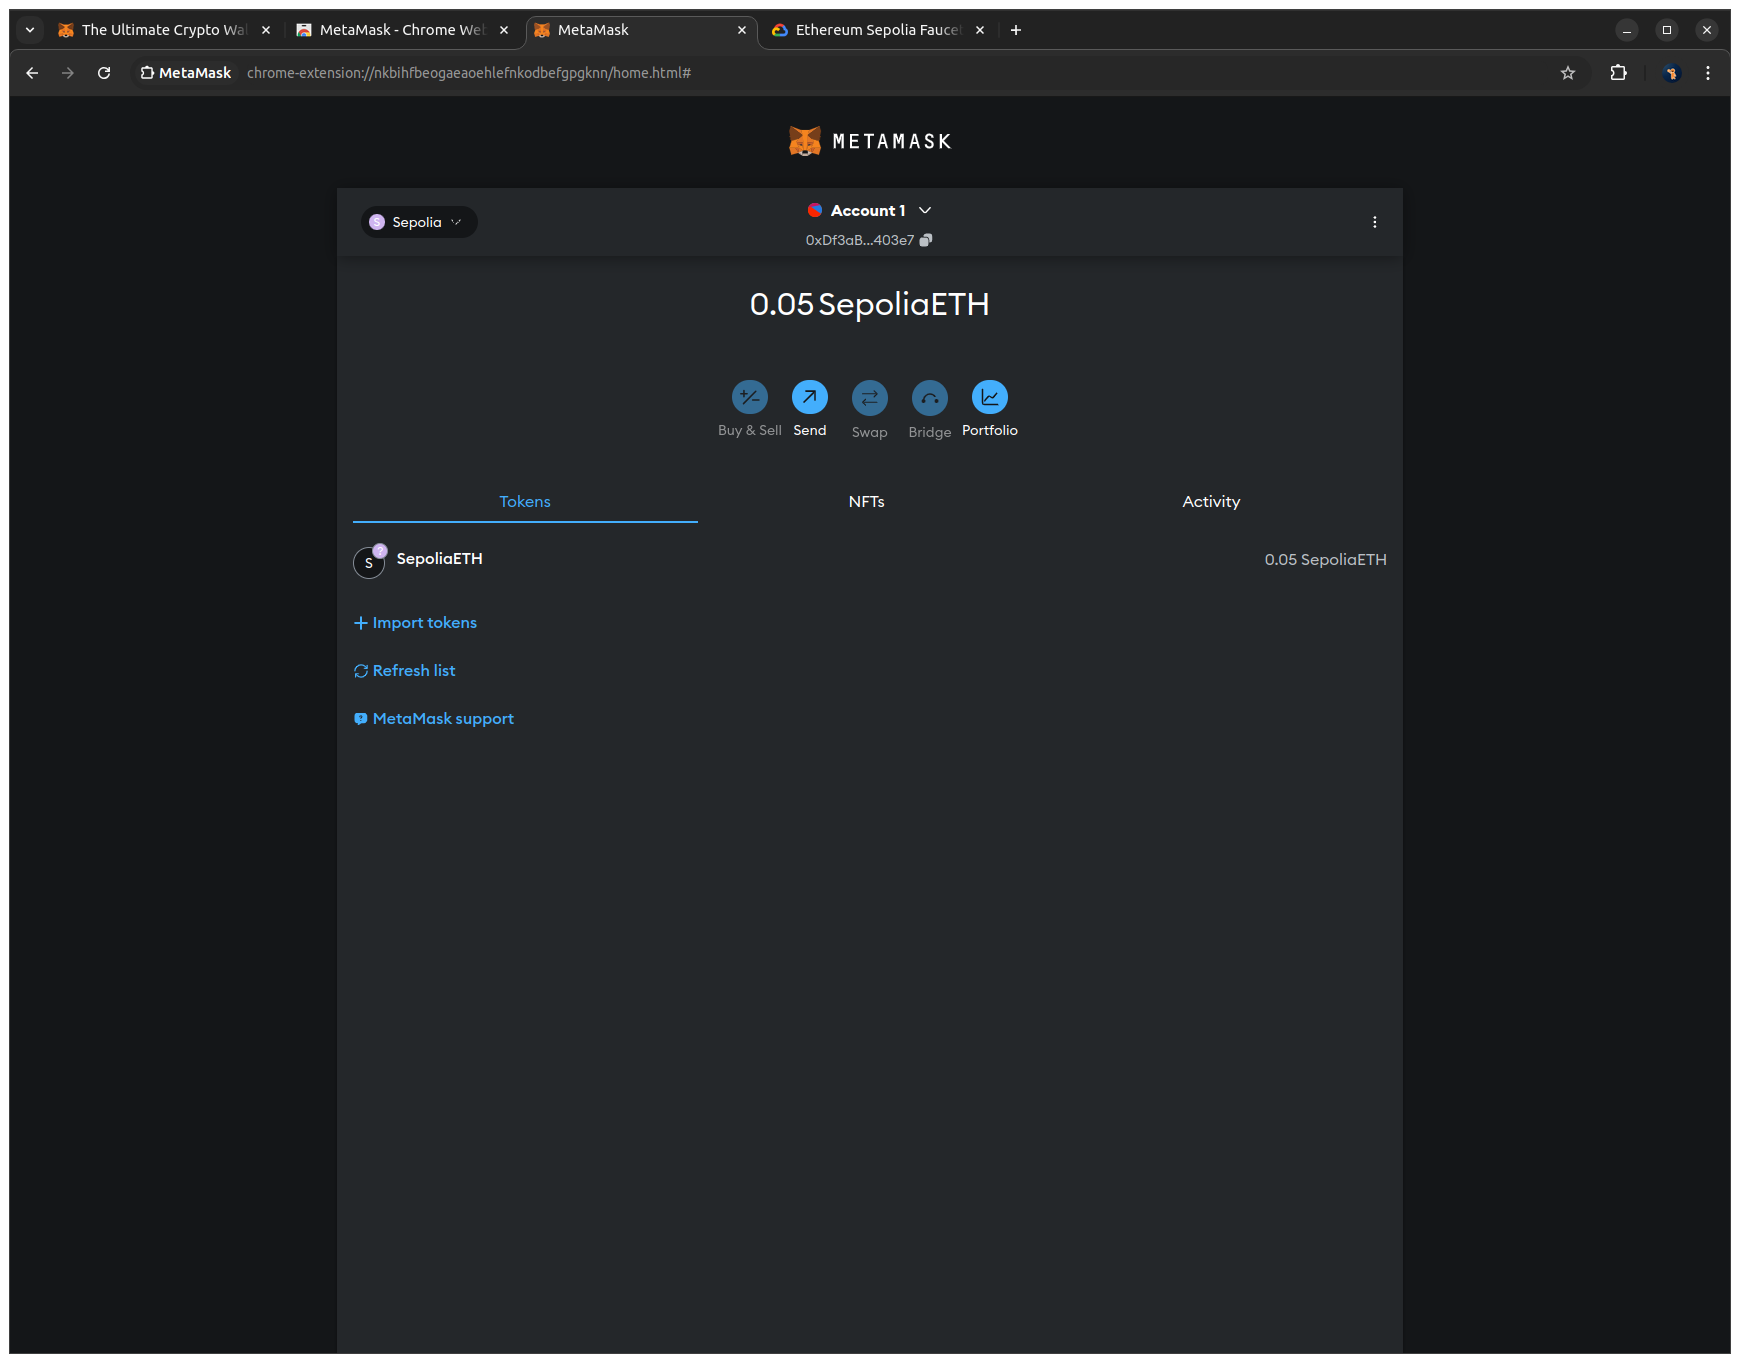
6. Open the MetaMask tab and check your SepoliaETH balance to verify that the funds arrived.
6. Bridging SepoliaETH from Ethereum to Arbitrum
What is bridging?
Bridging is the process of transferring tokens from one blockchain network to another. In our case, you will move SepoliaETH from the Ethereum Sepolia testnet to the Arbitrum Sepolia testnet.
Why do you need it?
In this tutorial series, you will deploy the smart contract on Arbitrum Sepolia, a Layer 2 test network built on top of Ethereum Sepolia. Arbitrum offers lower transaction fees and faster confirmations than the Layer 1 Ethereum network.
The SepoliaETH you received in the previous step exists on Ethereum Sepolia (L1). To use it on Arbitrum Sepolia (L2) for contract deployment and interaction, you first need to bridge it. This makes your testnet ETH available in the L2 network.
How do you set it up?
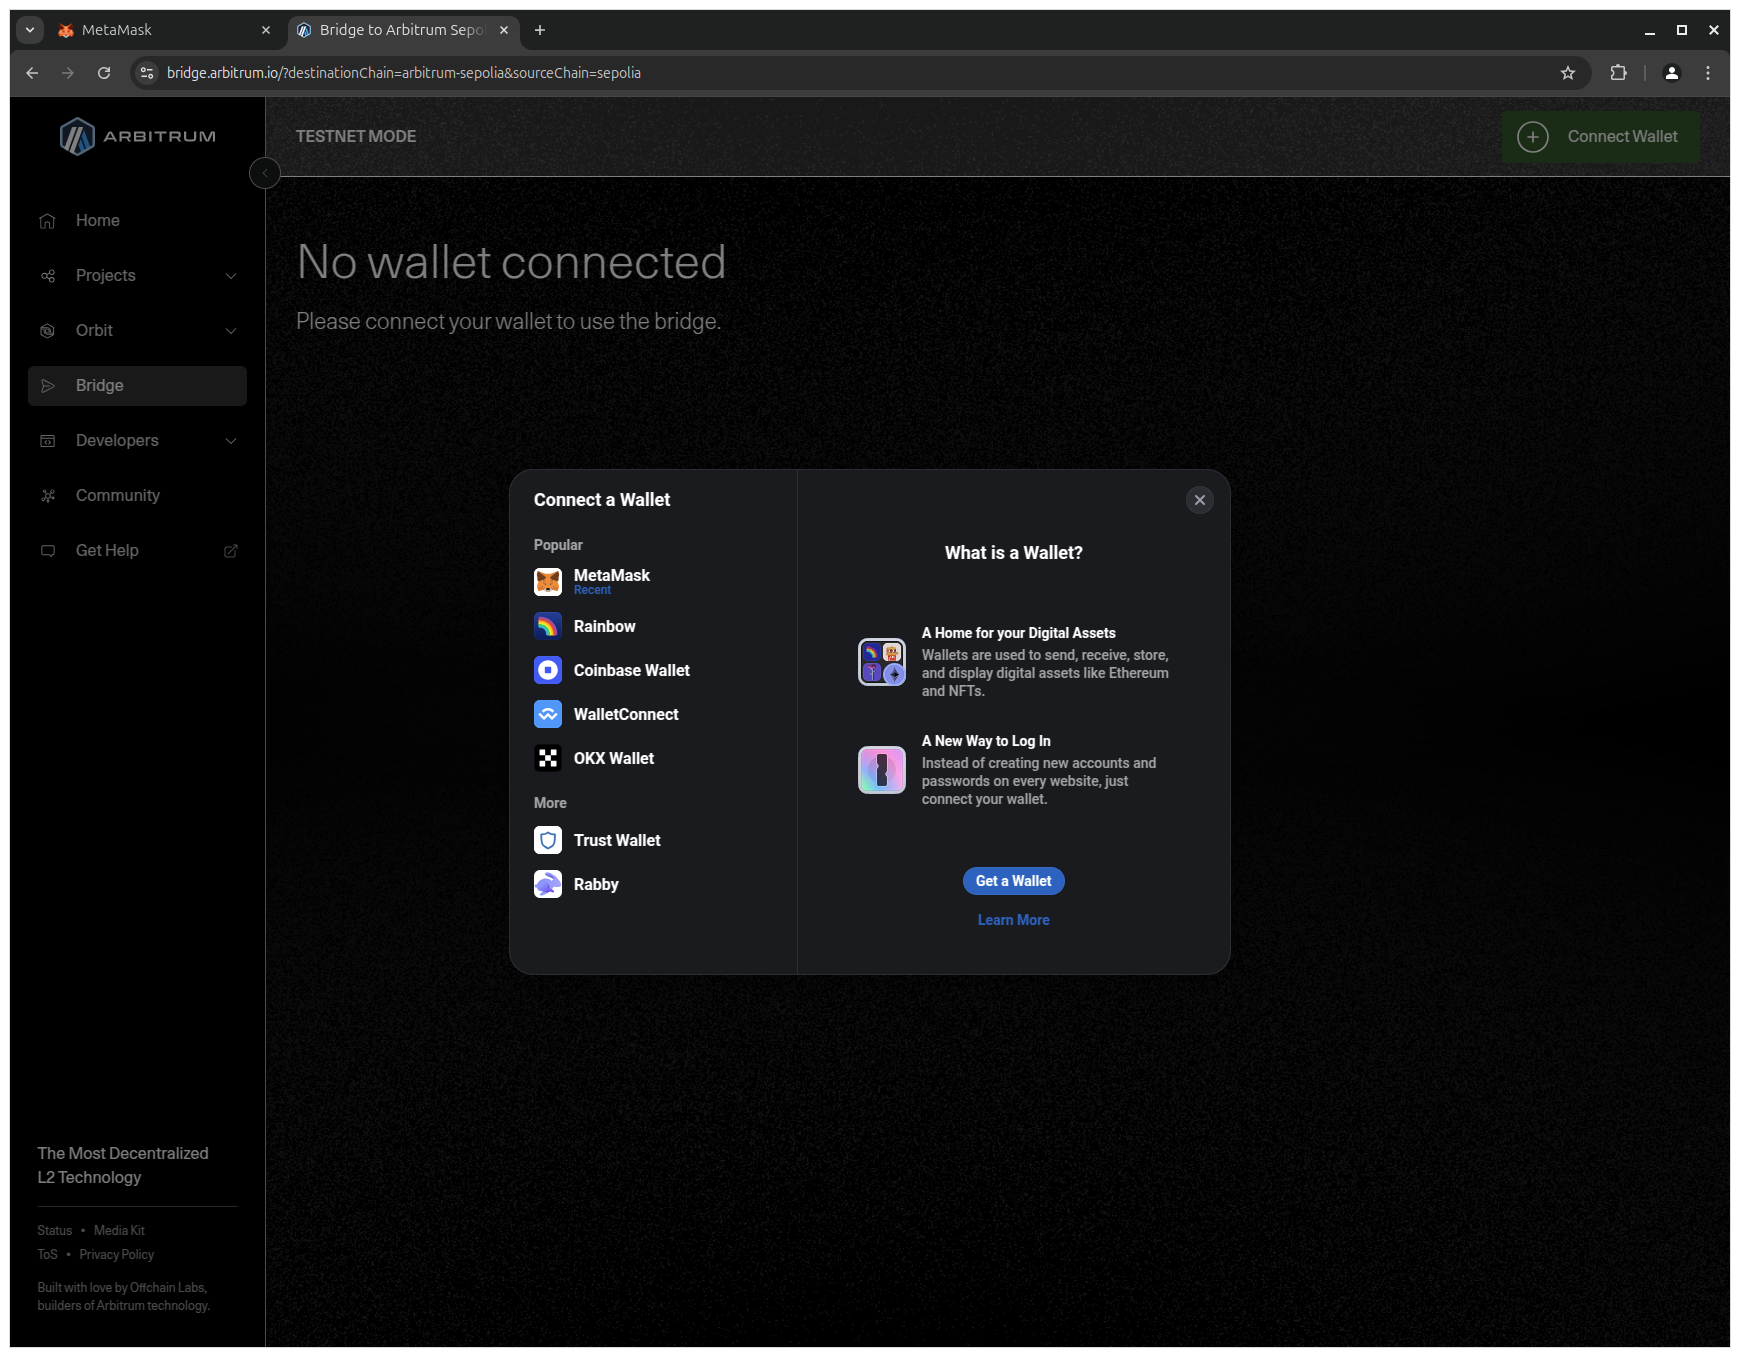
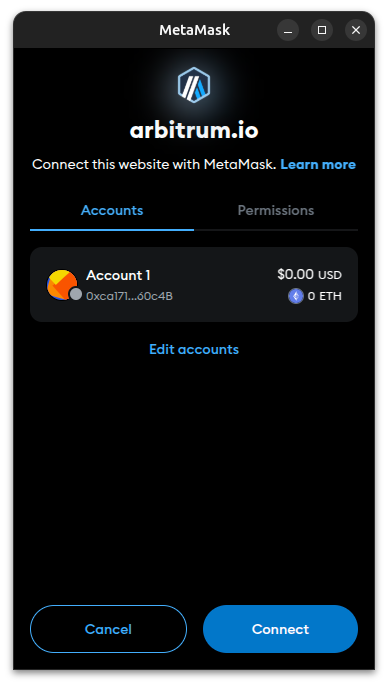
1. Go to the Arbitrum Bridge website to start the bridging process and select MetaMask on the left to connect your wallet to the bridge.
2. Click Connect in MetaMask to authorize the Arbitrum Bridge to access your wallet.
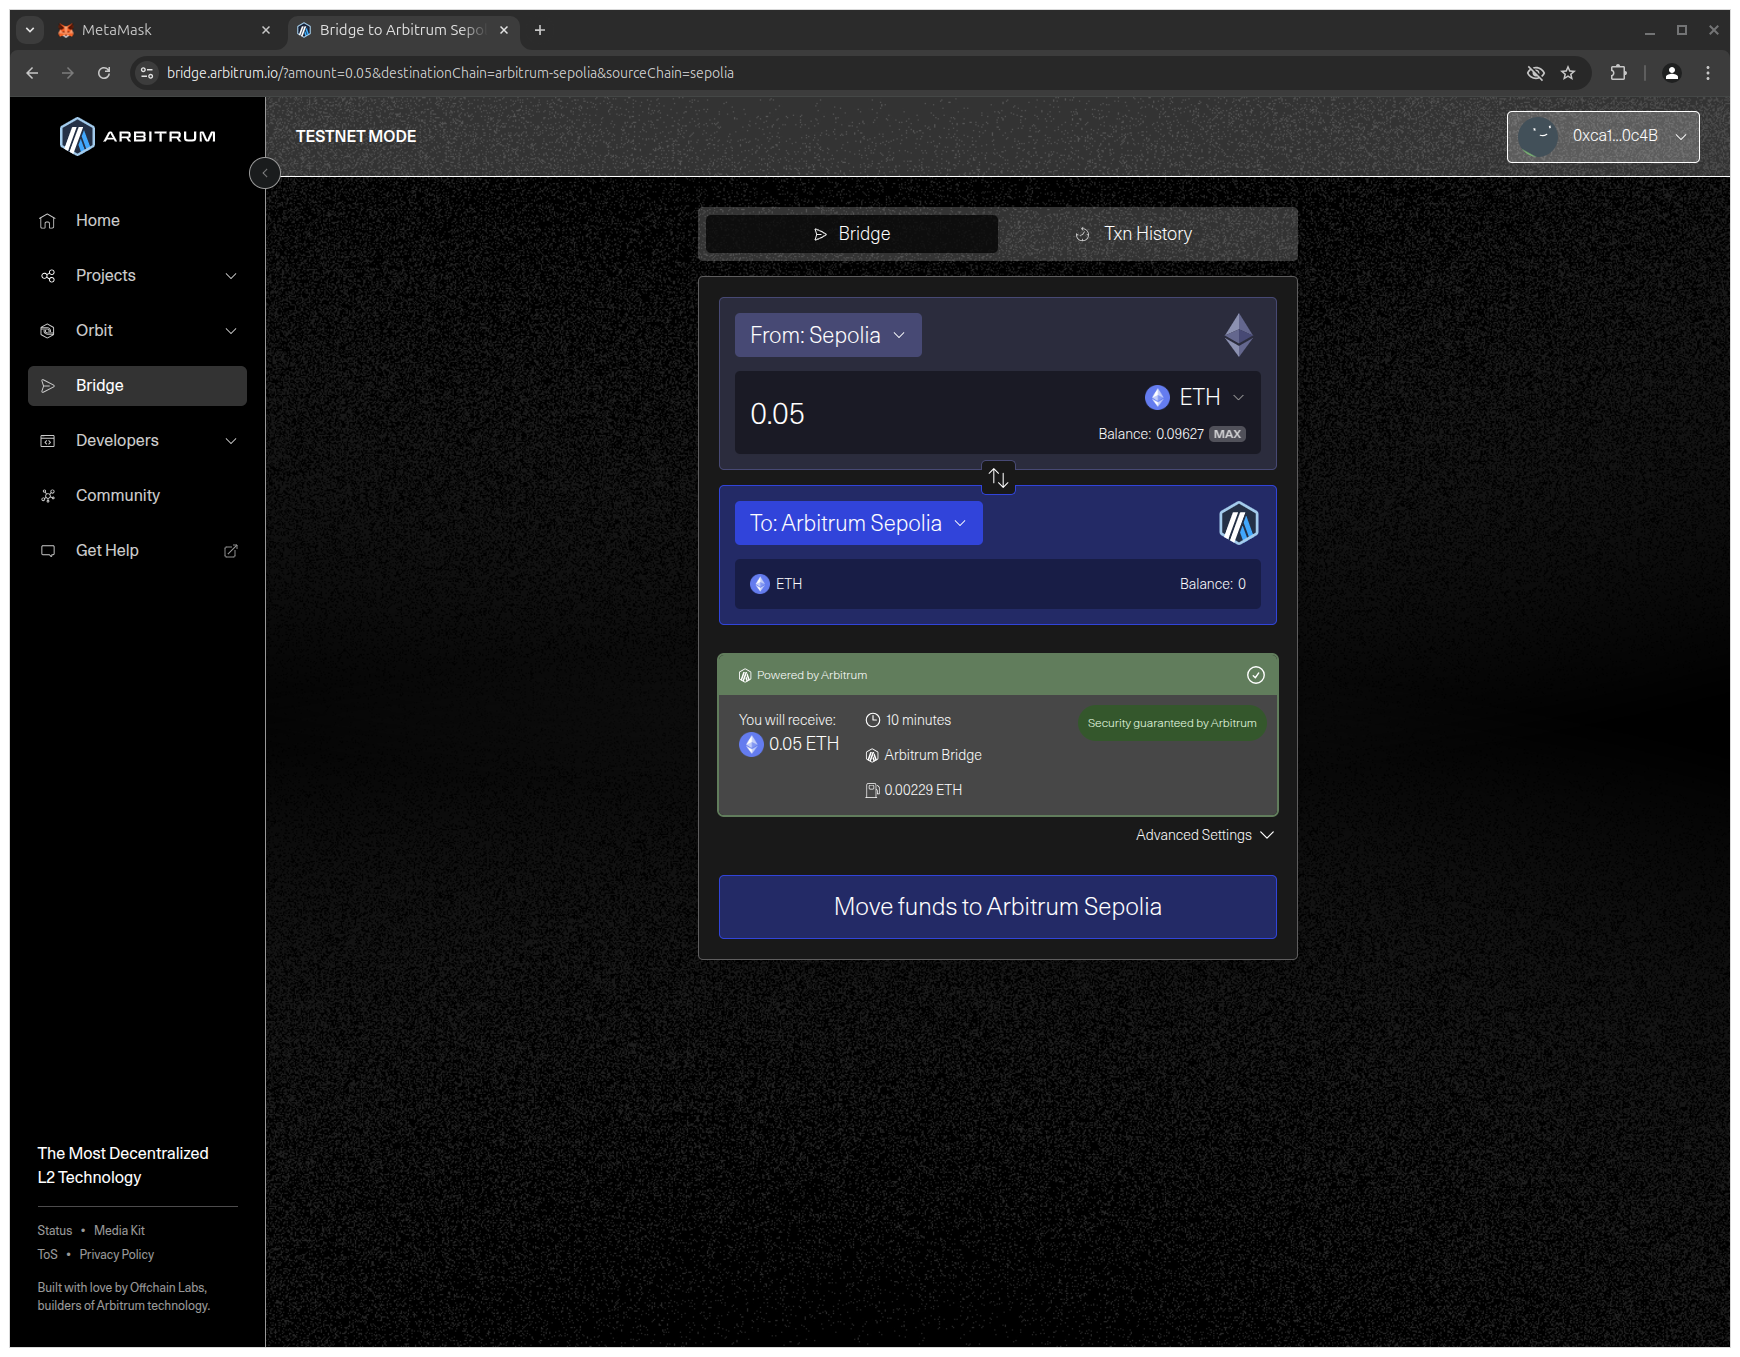
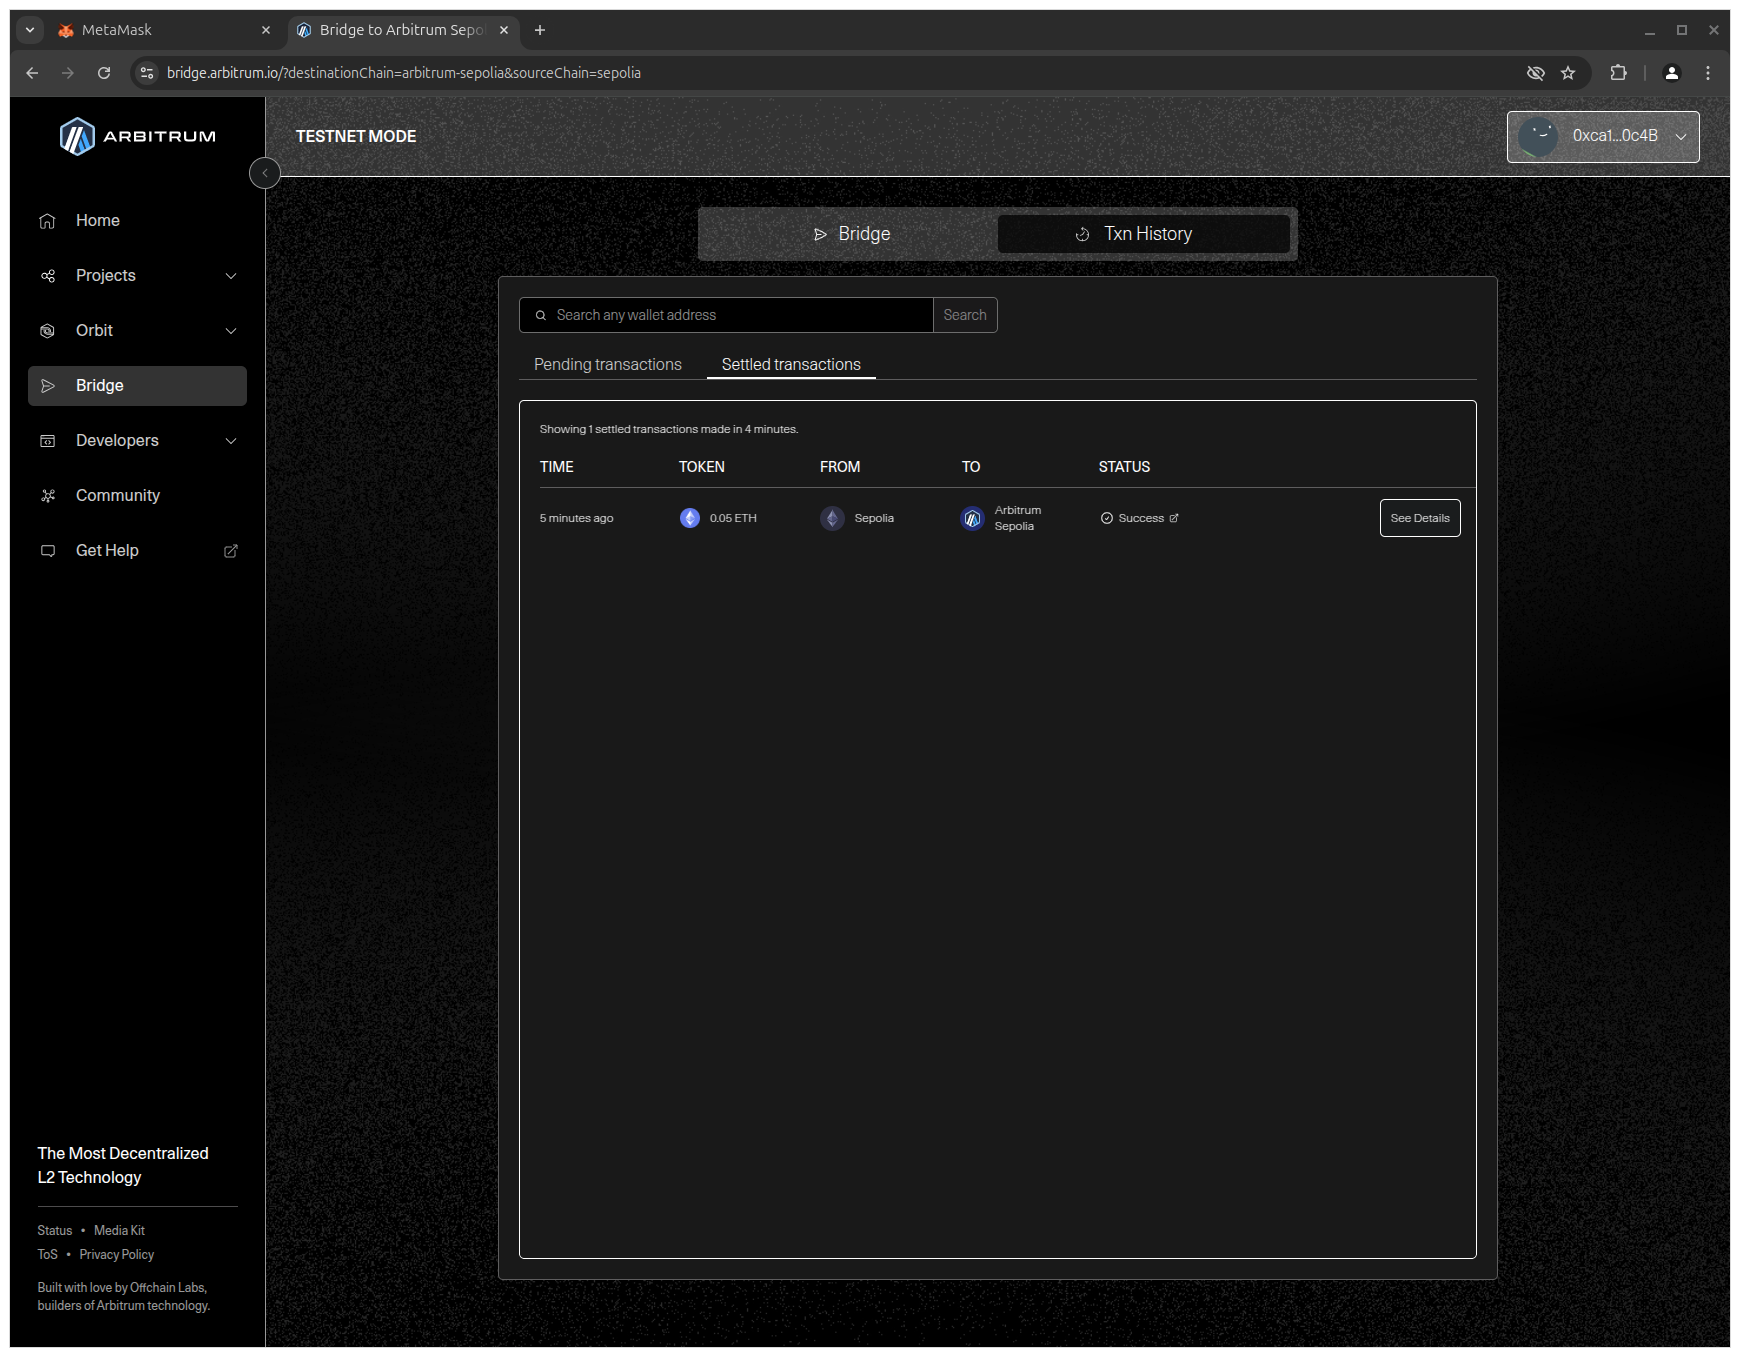
3. Enter the amount of SepoliaETH in the upper input field to specify how much you want to bridge and click Move funds to Arbitrum Sepolia to initiate the transfer.
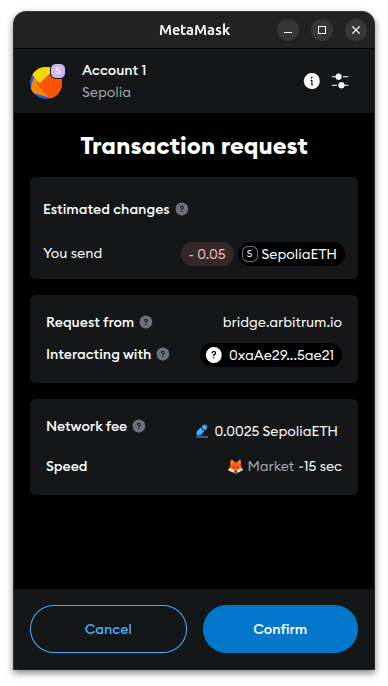
4. Confirm the transaction in MetaMask to approve the transfer.
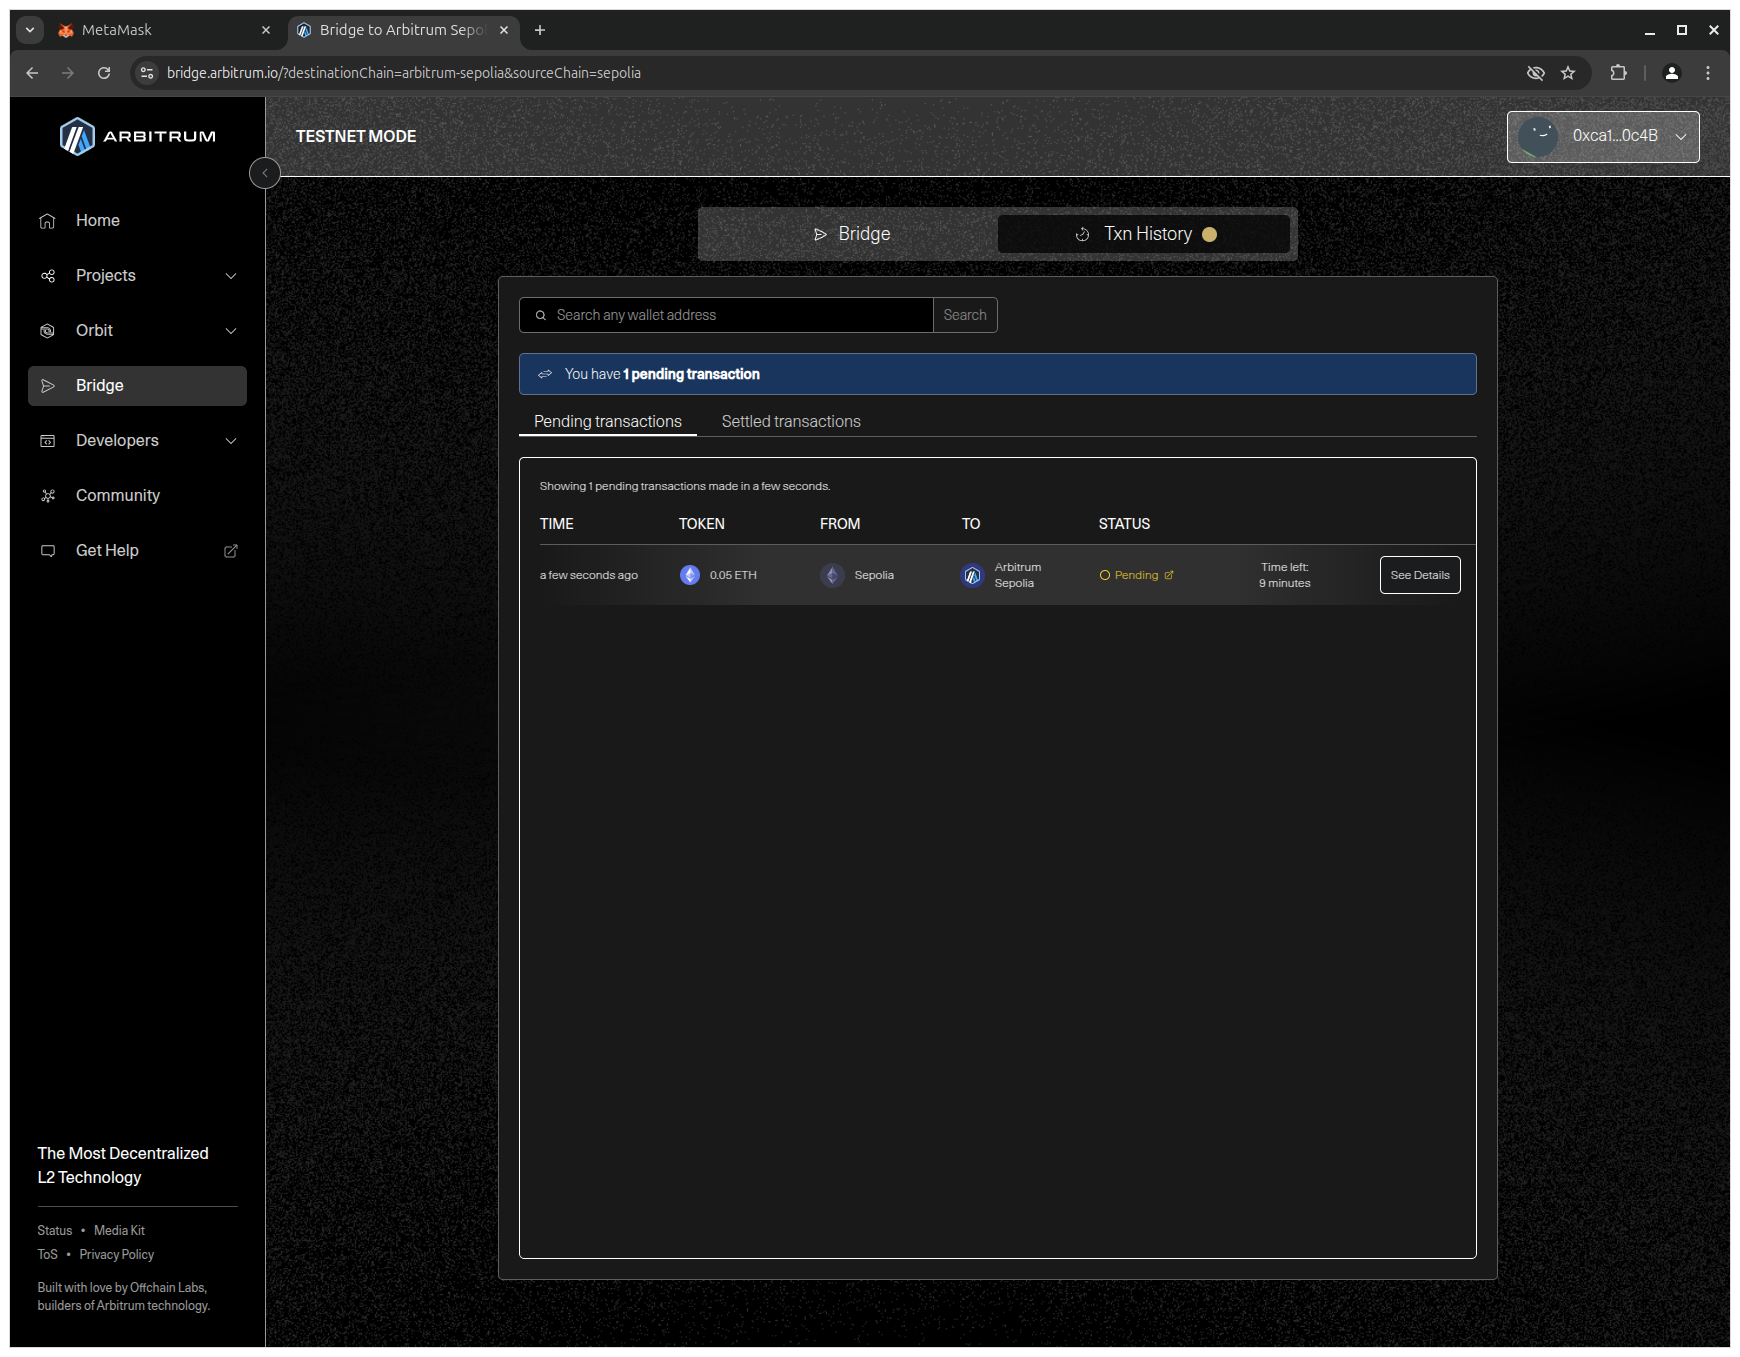
5. Wait for the transaction to be confirmed (this takes about 10 minutes).
7. Adding Arbitrum Sepolia Network to MetaMask
What is a custom network?
A custom network is a blockchain connection that you manually add to MetaMask by entering its network parameters (RPC URL, Chain ID, currency symbol, and block explorer).
Why do you need it?
Even though Arbitrum Sepolia is a public test network, it is not enabled in MetaMask by default. To interact with your smart contracts on Arbitrum Sepolia, you need to add it manually and this will make it available in MetaMask's network list.
How do you set it up?
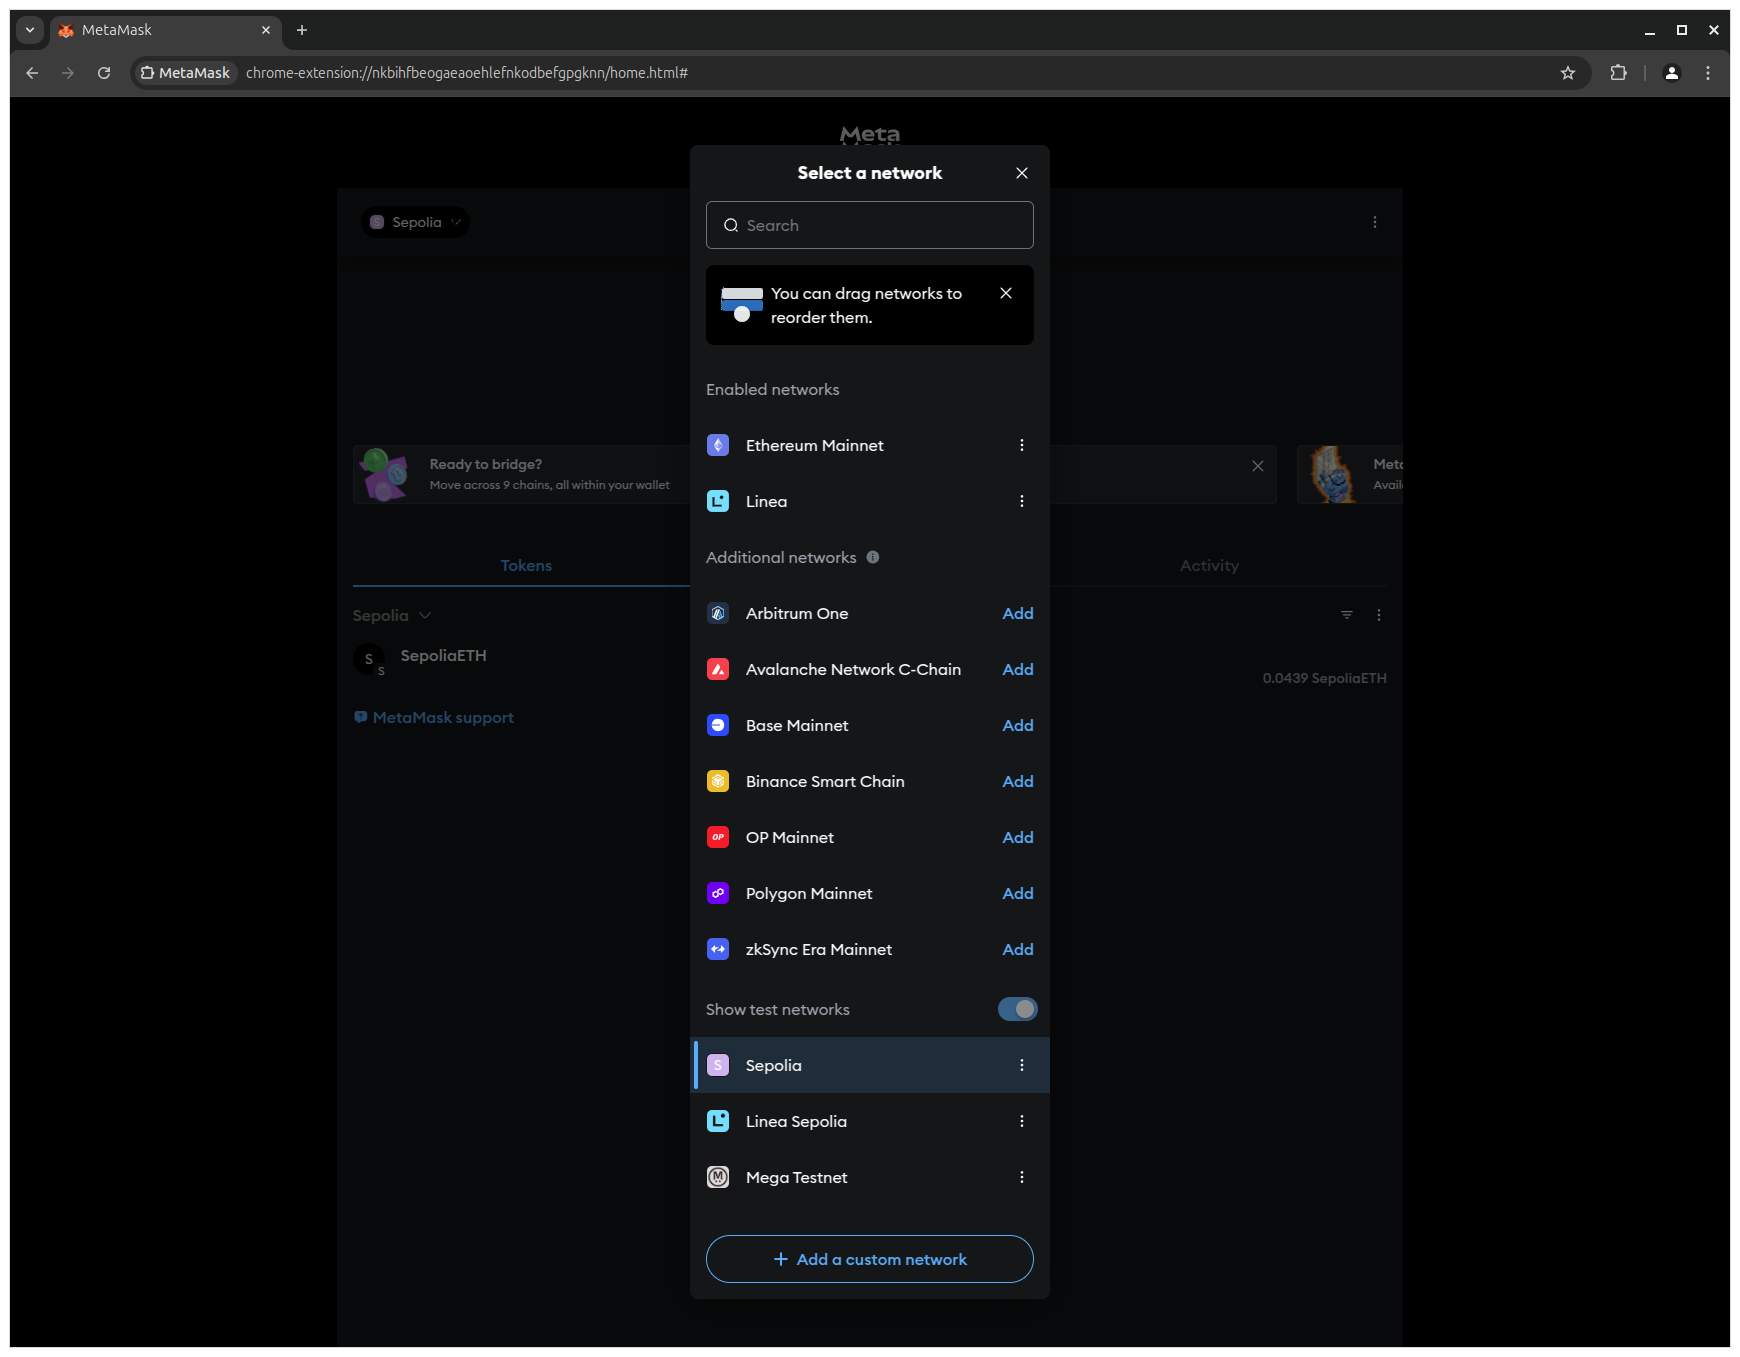
1. Click the network dropdown (Sepolia is currently selected) in MetaMask to view the list of networks and click Add a custom network to open the network configuration form.
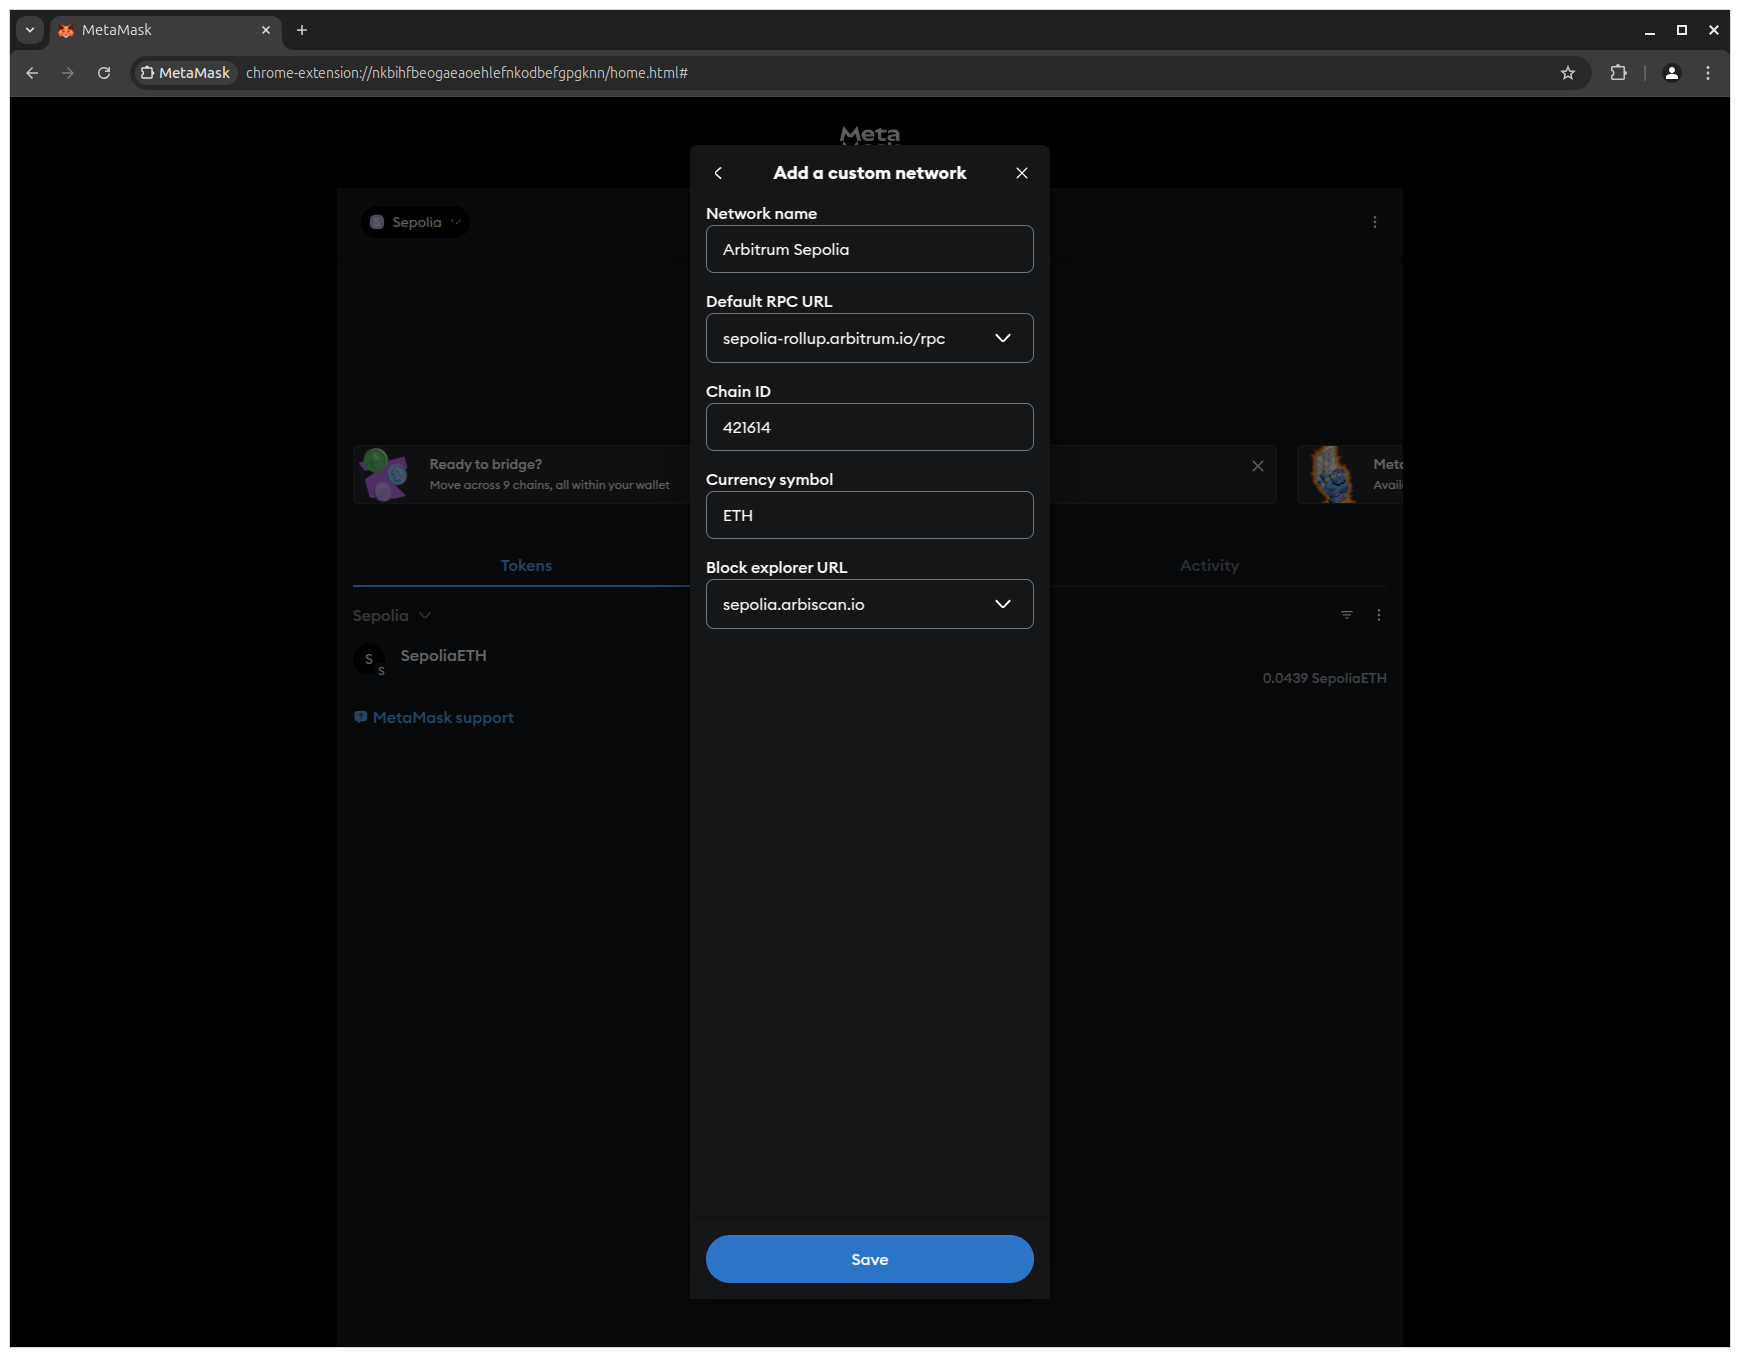
2. Enter the following network details to configure Arbitrum Sepolia and click Save to add the network to MetaMask.
- Network name:
Arbitrum Sepolia - Default RPC URL:
https://sepolia-rollup.arbitrum.io/rpc - Chain ID:
421614 - Currency symbol:
ETH - Block explorer URL:
https://sepolia.arbiscan.io
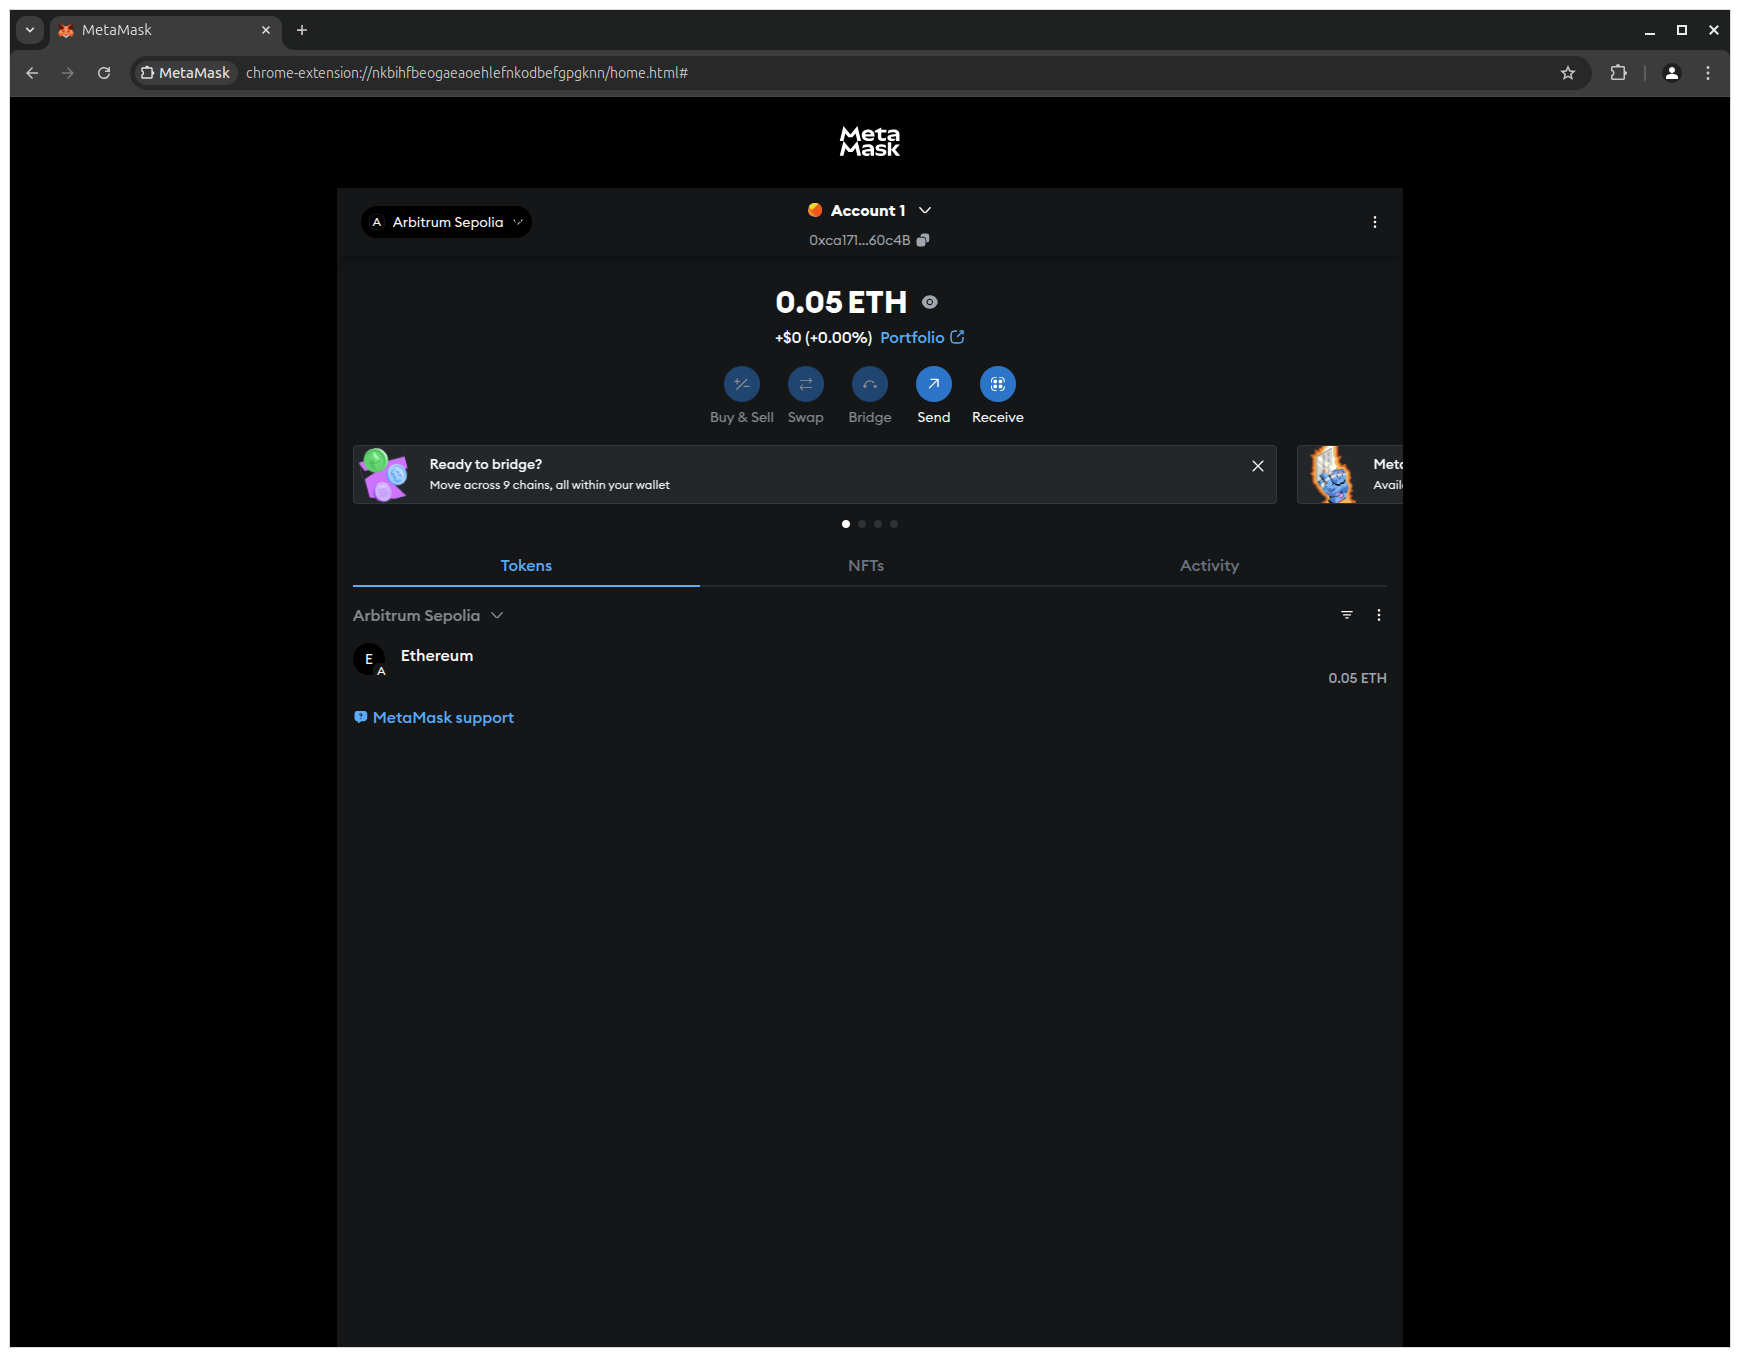
3. Check your balance to confirm that your SepoliaETH is now available on Arbitrum Sepolia.
8. Wrap-up
In this article, you have prepared your entire development environment for deploying smart contracts on Arbitrum Sepolia. We:
- Installed all required tools (Node.js, Visual Studio Code, MetaMask)
- Created a test wallet
- Received SepoliaETH on the Ethereum Sepolia testnet
- Bridged it to Arbitrum Sepolia
- Added the Arbitrum Sepolia network to MetaMask
You should now have everything in place to start writing your first smart contract and deploying it on the Arbitrum Sepolia testnet.
9. What's next?
In the next article, you will make use of your development environment and write your first smart contract in Solidity.
Get ready, this is where the fun really begins! 🚀